Back to School Series: Classroom Design & Decor
Ah, summer break. Can't beat it, right? Life slows down a bit (usually), and you finally get a chance to tackle all those Pinterest projects you've been eyeing throughout the year (well, maybe not all of them - let's not go overboard).
Here's the thing, though: teachers never fully switch off. We're always brainstorming ideas for our classrooms, mentally ticking off checklists, and planning ahead. It's in our DNA! The only difference between being a teacher in summer and during the school year? Swap that Mr. Sketch marker for a fruity drink with an umbrella, and you've got it!
Now, don't get me wrong—I want you to savor every moment of your summer. But I also want to help you plan bit by bit, so you're not scrambling come summer's end.
Let's be real: I adore a beautifully organized classroom. Those Pinterest-perfect setups? I'm all about them. But here's the reality check—we're only seeing the polished result. There's a ton of planning and effort behind those stunning classrooms. So, let's break it down together and turn your classroom dreams into reality.
In this post, we'll dive into all the key aspects you need to consider when designing your classroom.
Let’s dive in!
CONSIDER A THEME OR COLOR SCHEME
Before you dismiss the idea of a color theme or scheme, let me remind you—it doesn't have to be a big production to make a big impact. The whole point of having a theme or color scheme in your classroom is to create a sense of cohesion.
Having a theme or color scheme makes decorating a breeze. It keeps you on track and prevents those impulse buys that don't quite match your classroom vibe (yes, that cute green basket can wait if it clashes with your teal and black theme!).
Themes aren't just for show; they can spark creativity in everything from bulletin board titles to classroom names.
Imagine a jungle theme—instead of a plain "Word Wall," jazz it up with "Wild Words." It's more engaging, right?
Apply this concept to all your boards and titles, and suddenly, your classroom looks like a well-planned masterpiece.
Get your free design guides!
I’ve got good news! I’ve put together several classroom design guides for some of the most popular classroom themes as well as a design guide for creating a classroom with a color scheme.
Each design guide has ideas for classroom displays, ideas for classroom accessories, and printable resources for creating each theme. Click on any image to view each post.
Download FREE My design guide Catalog
Grab your FREE design guide to help you create the classroom of your dreams! Inside the catalog, you’ll have several theme and color scheme design guides to choose from!
Hit the ground running with these classroom essentials!
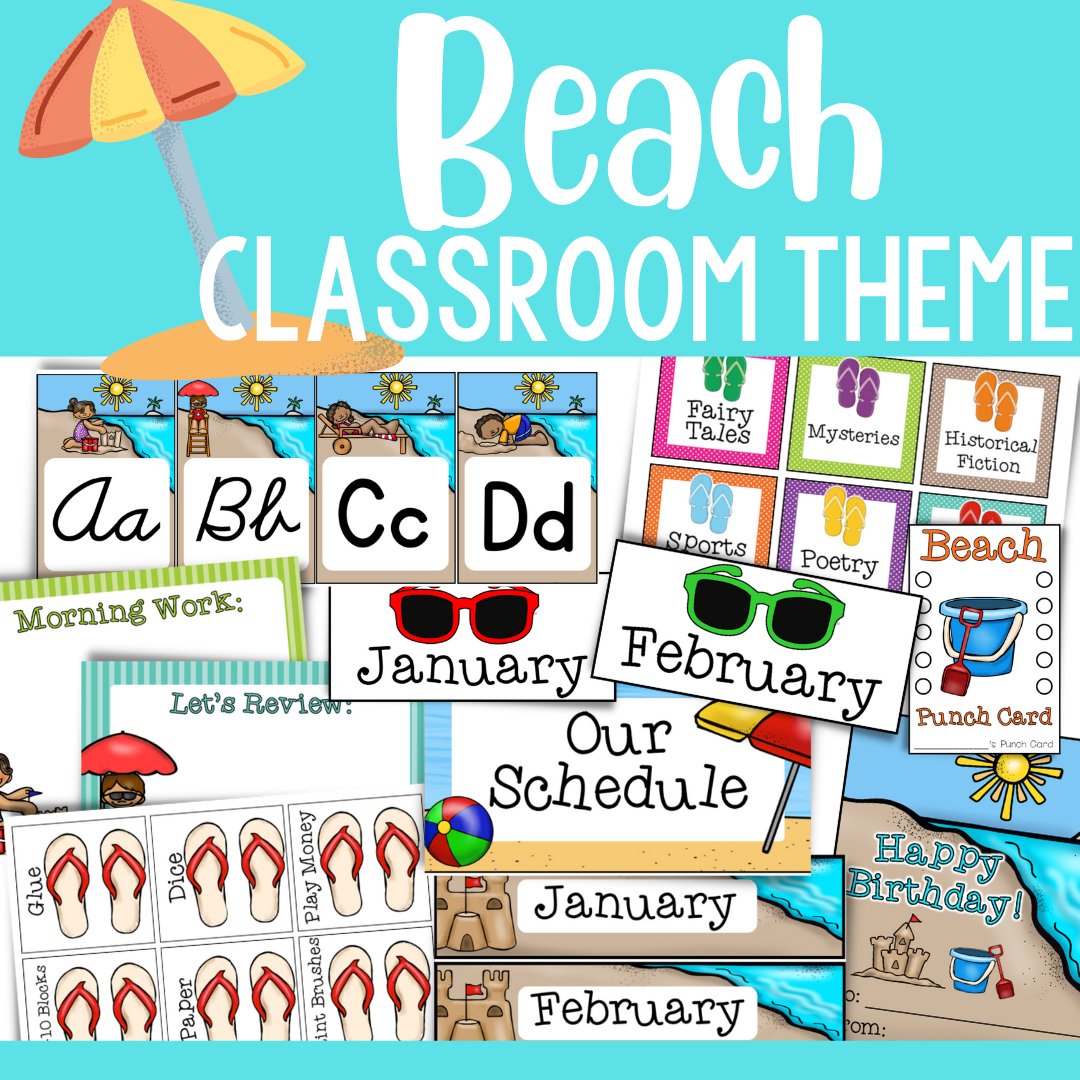
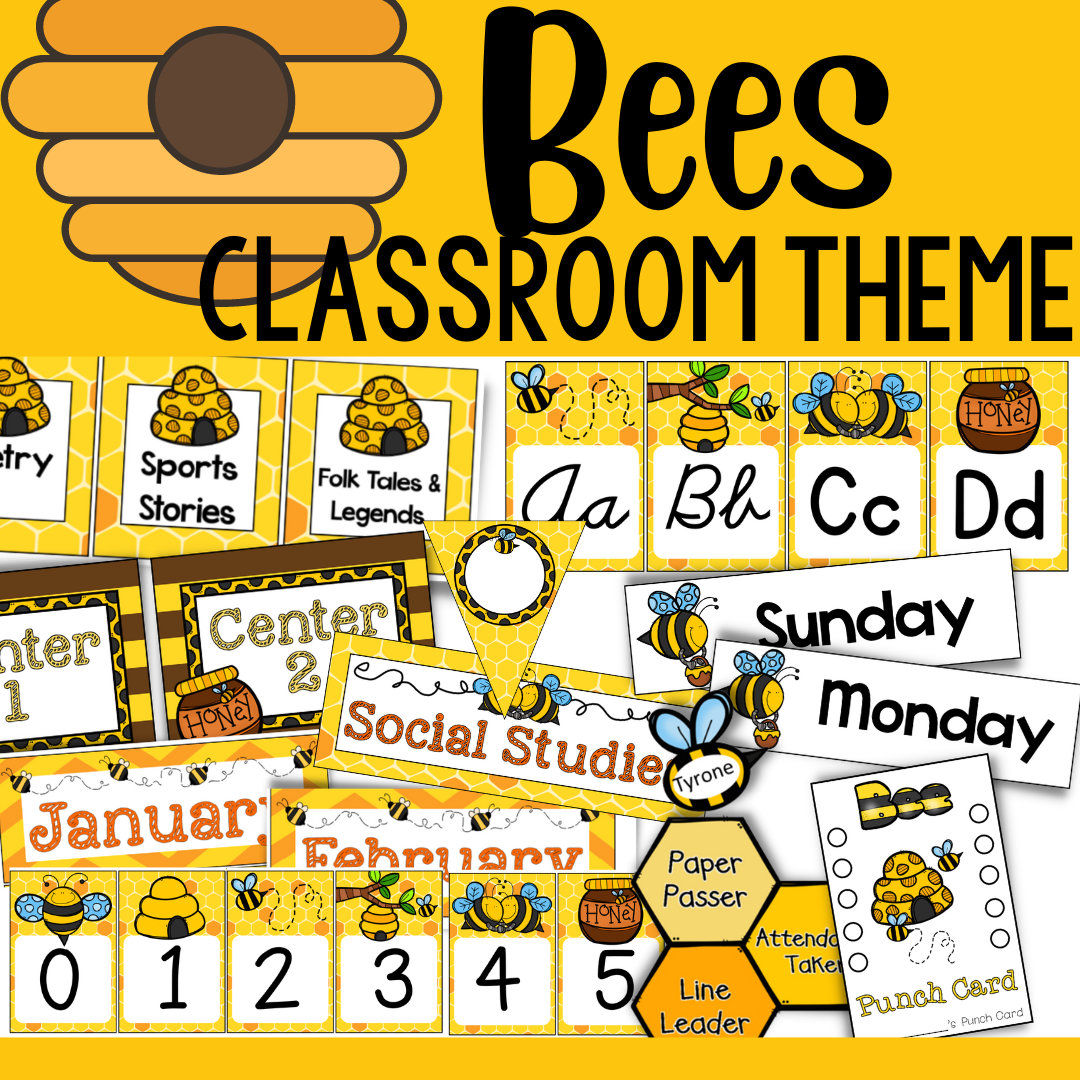
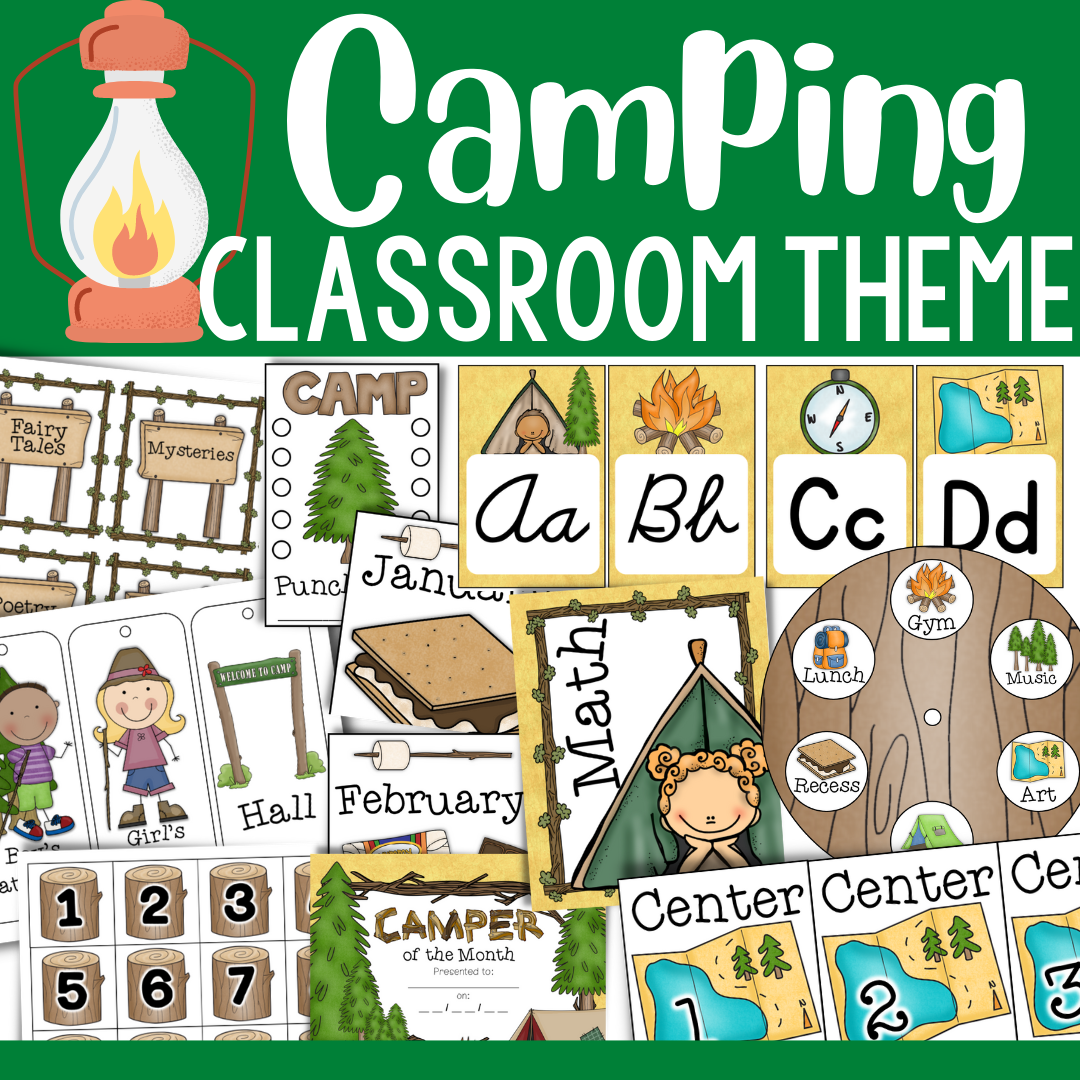
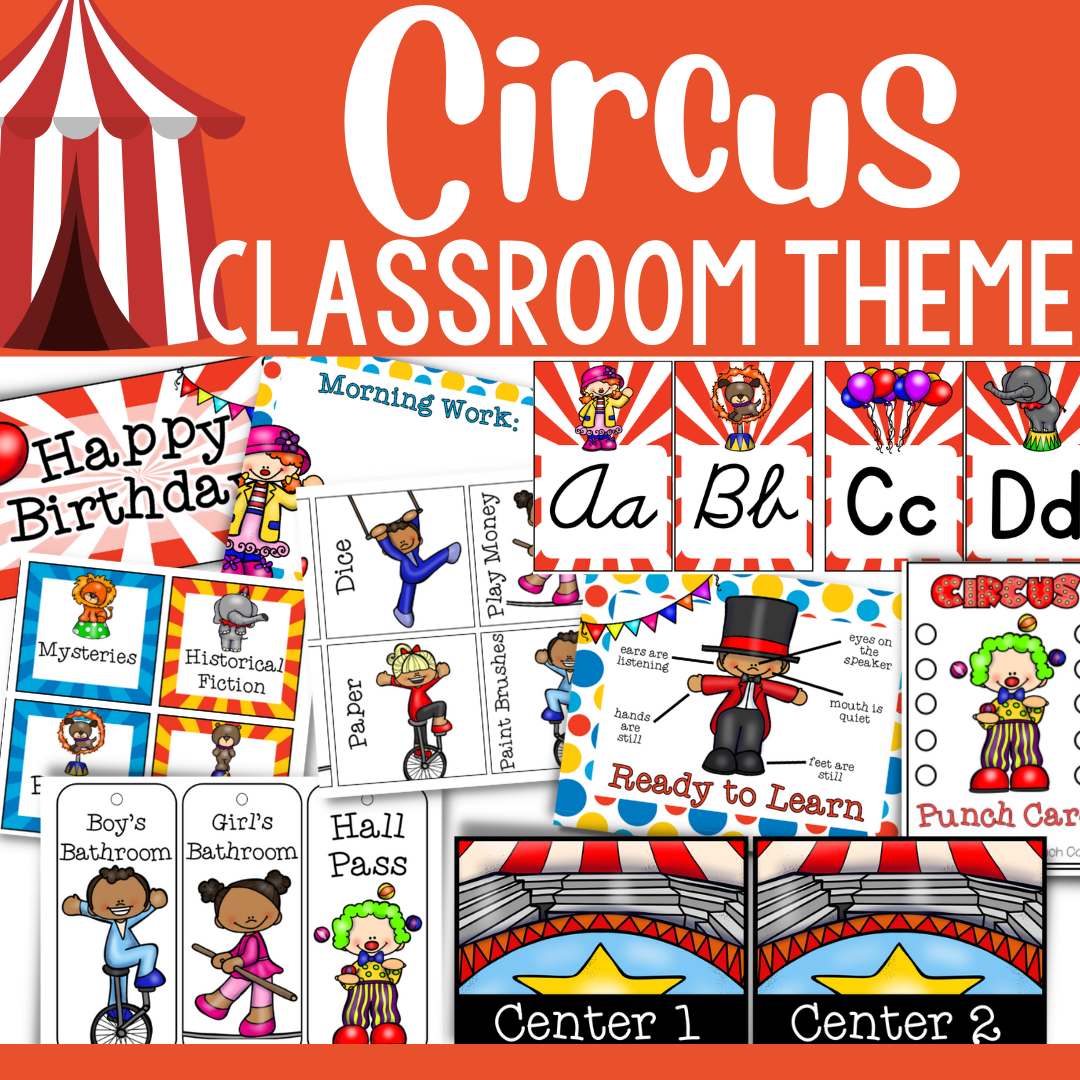
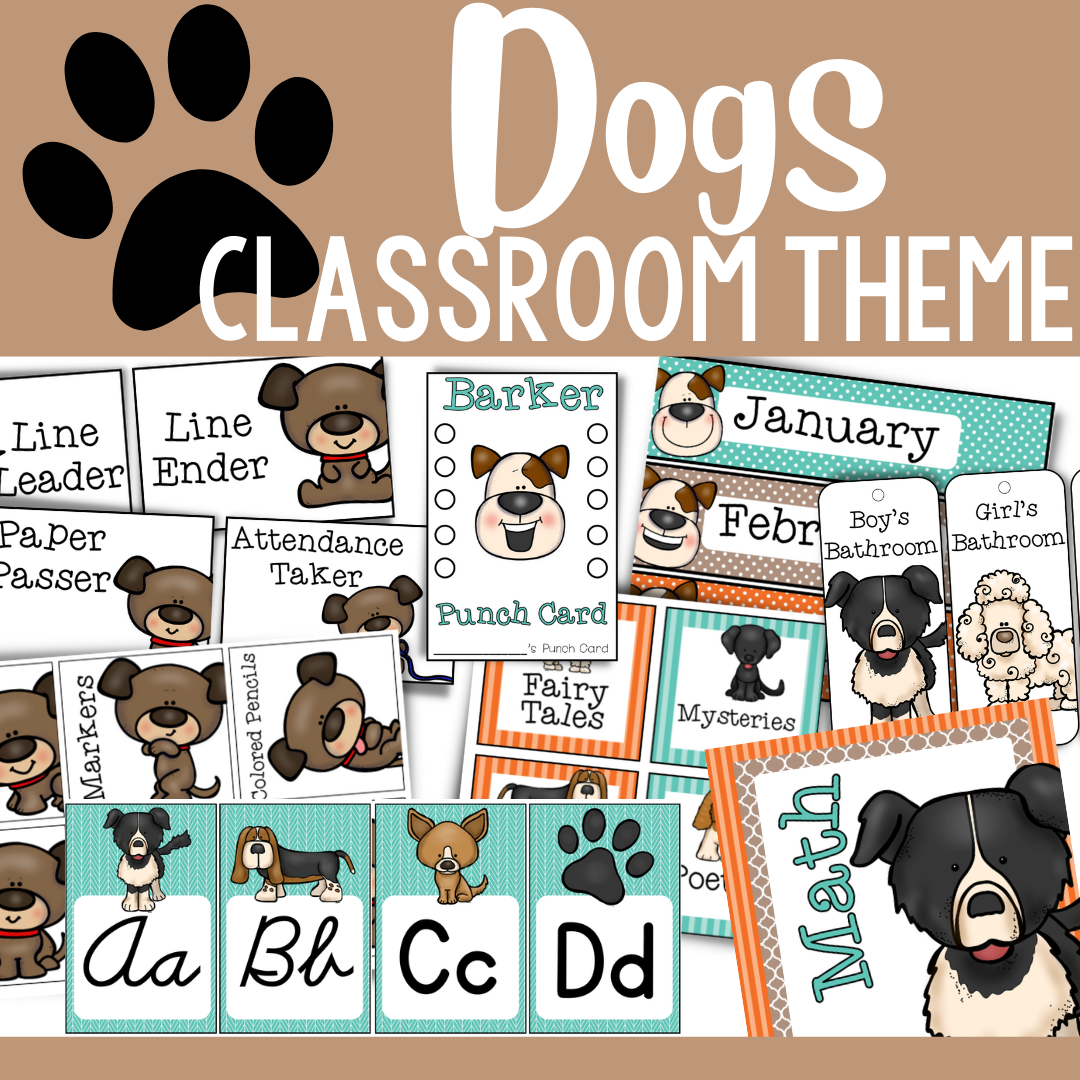
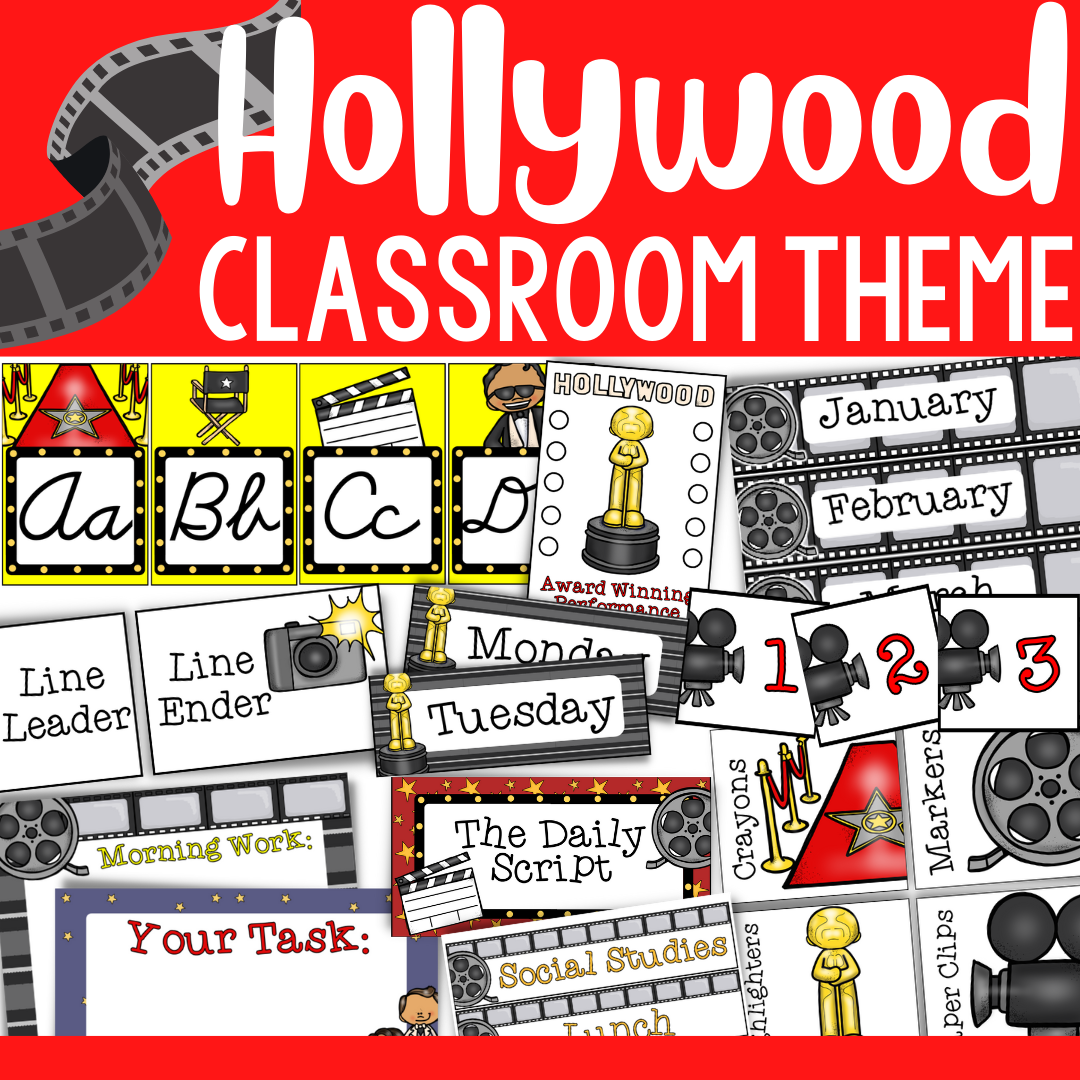
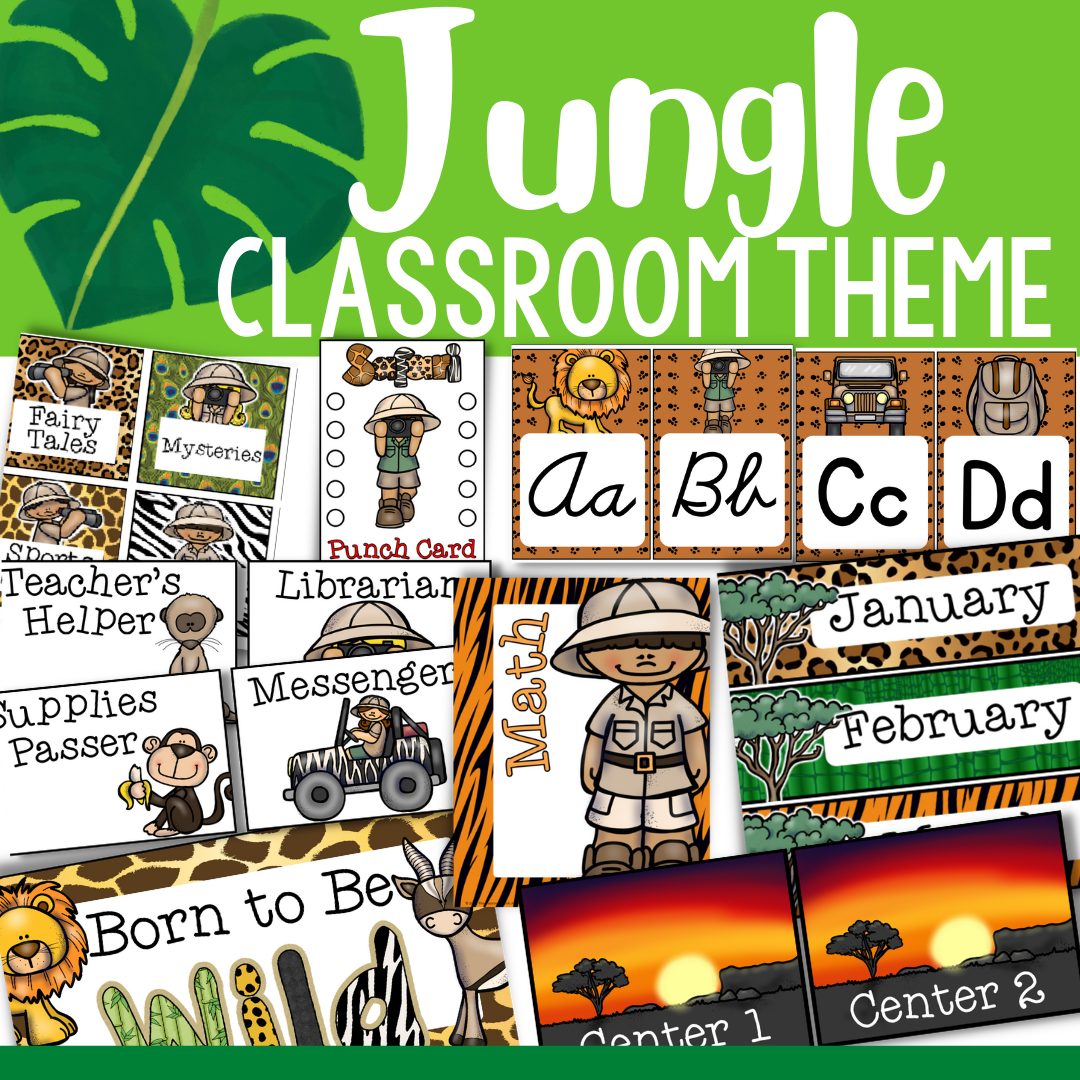
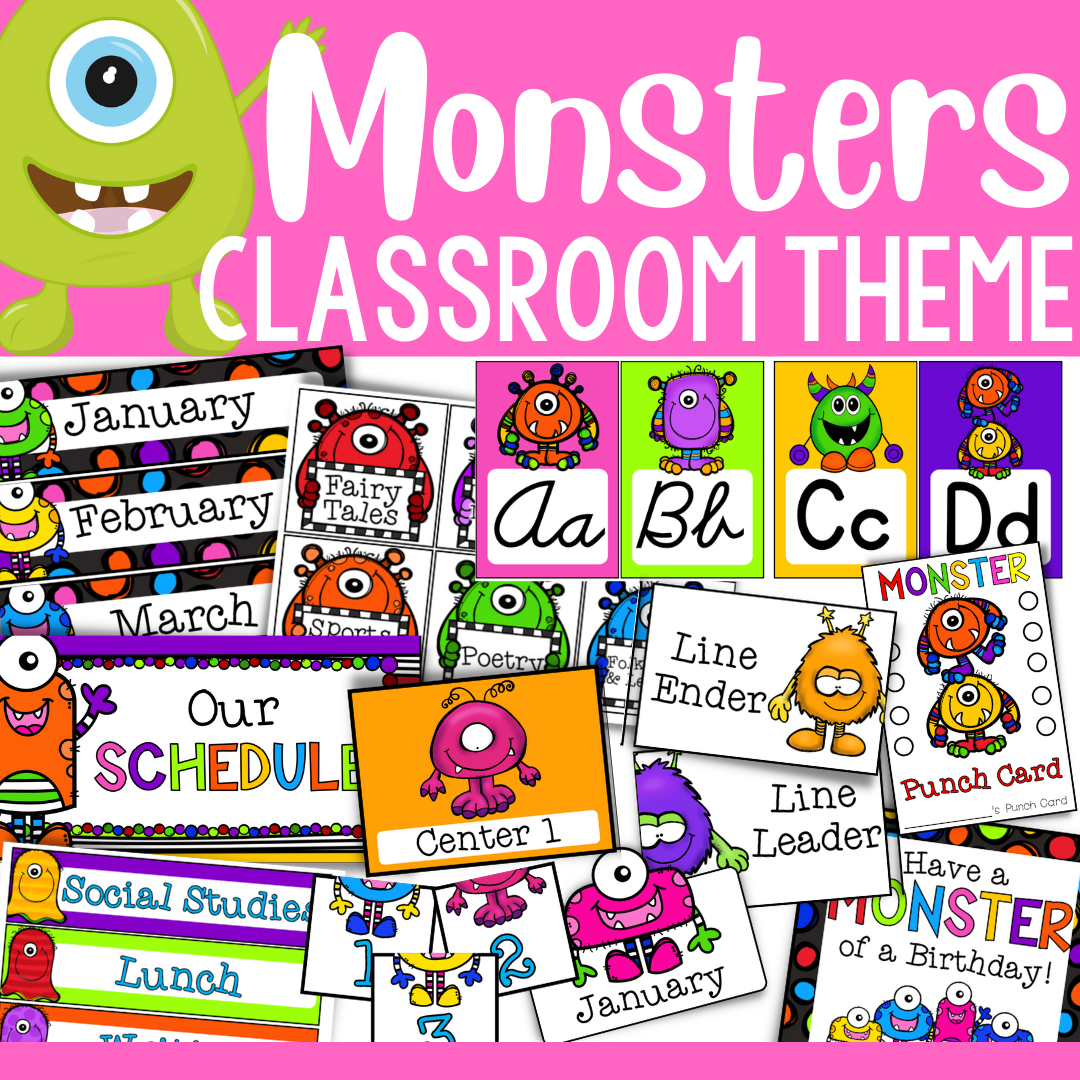
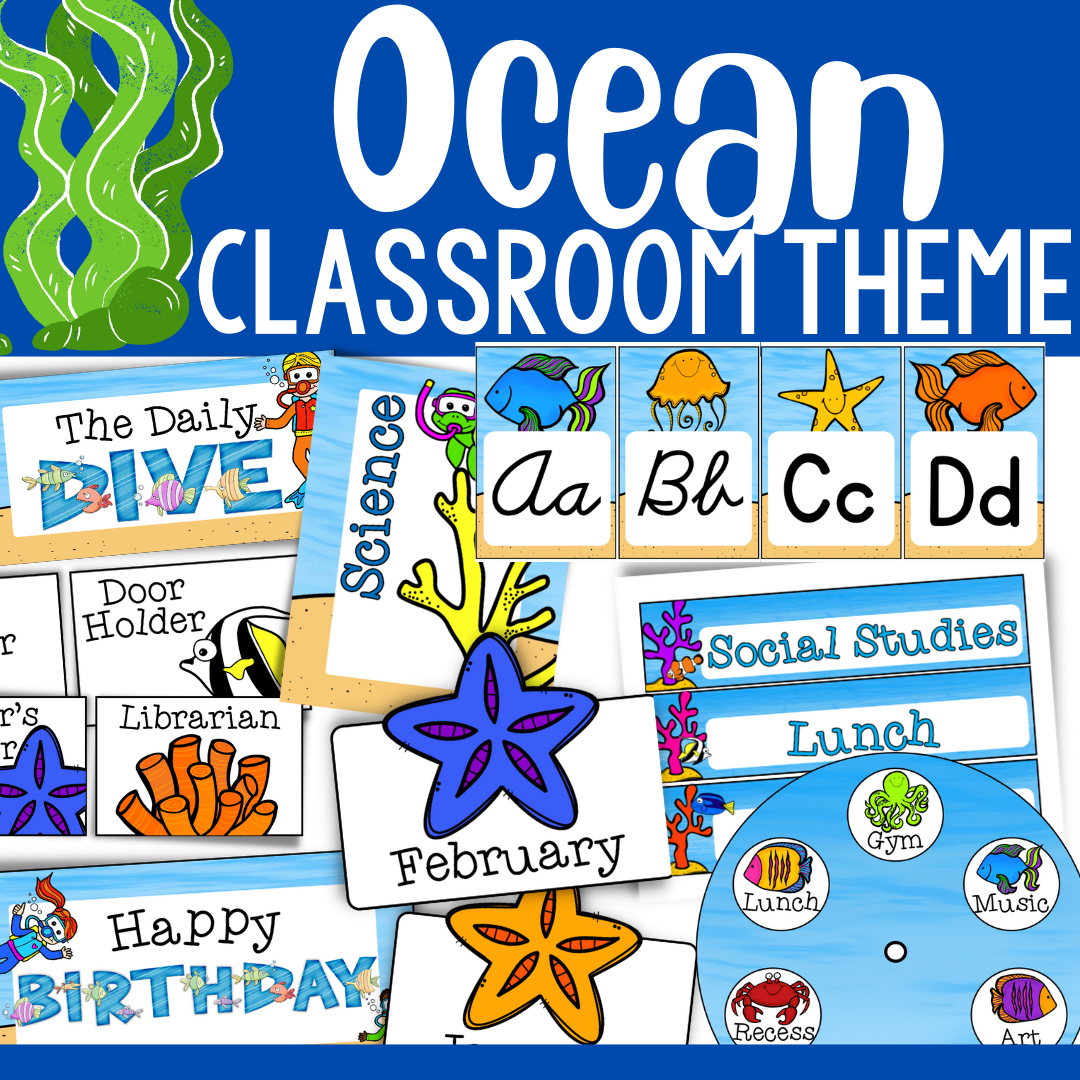
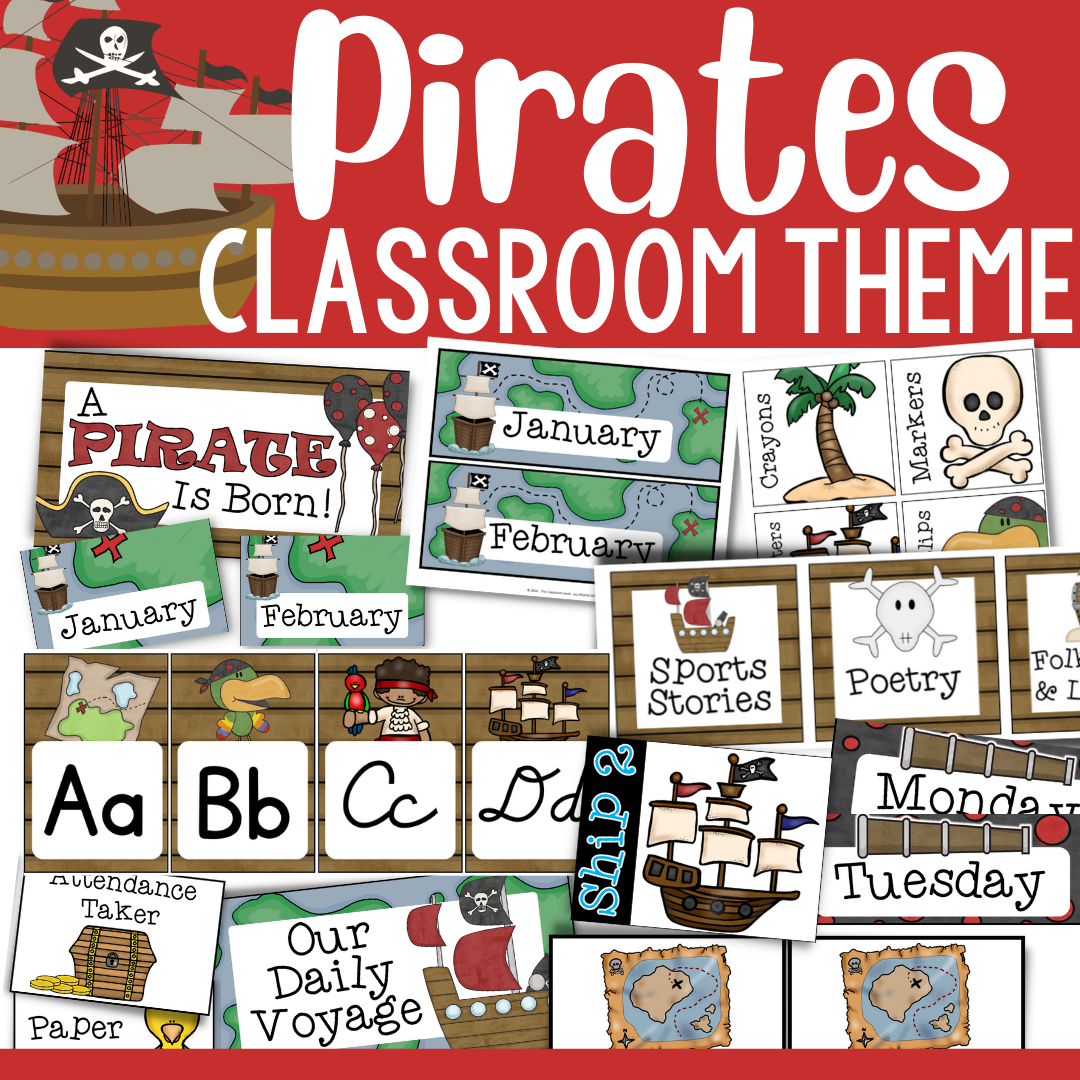
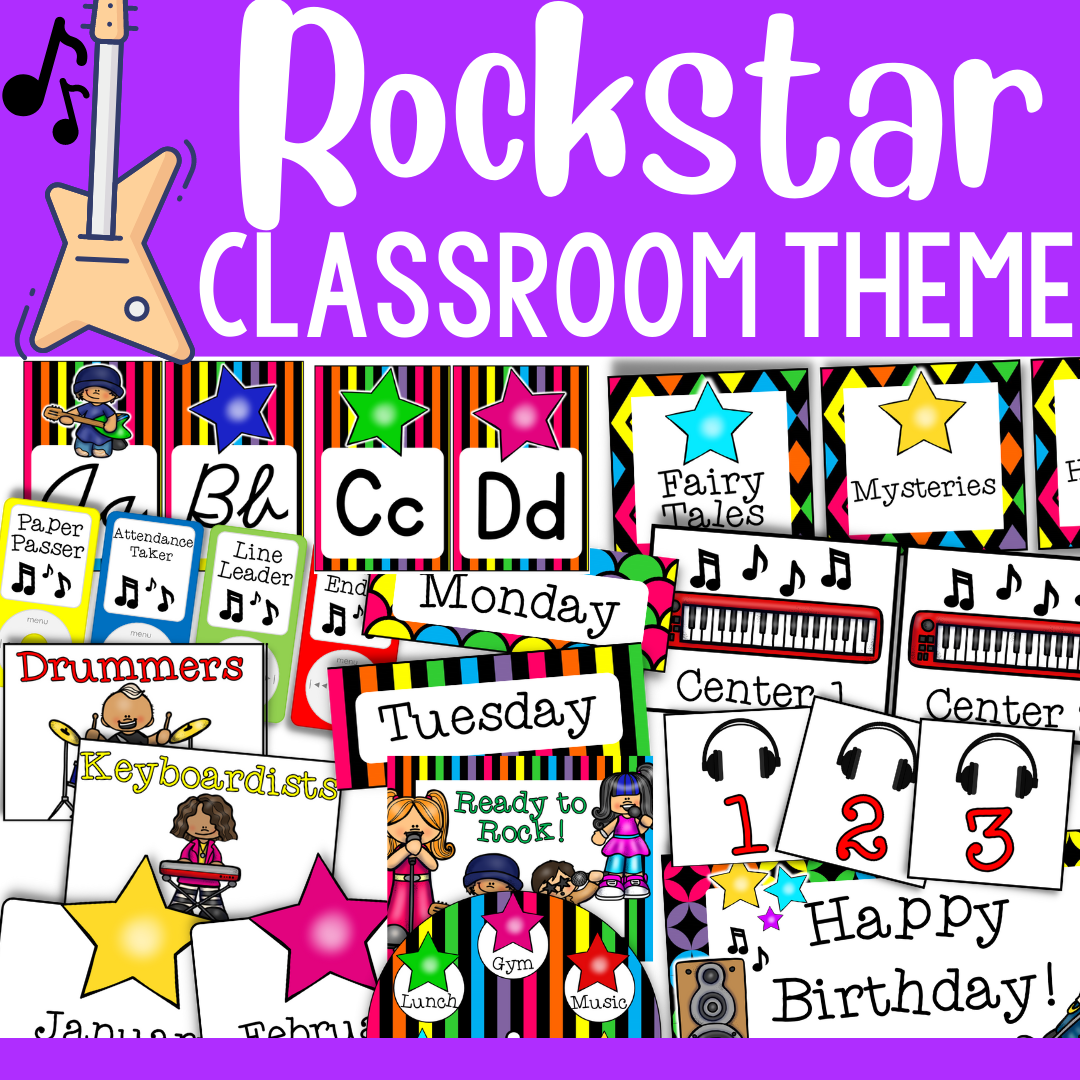
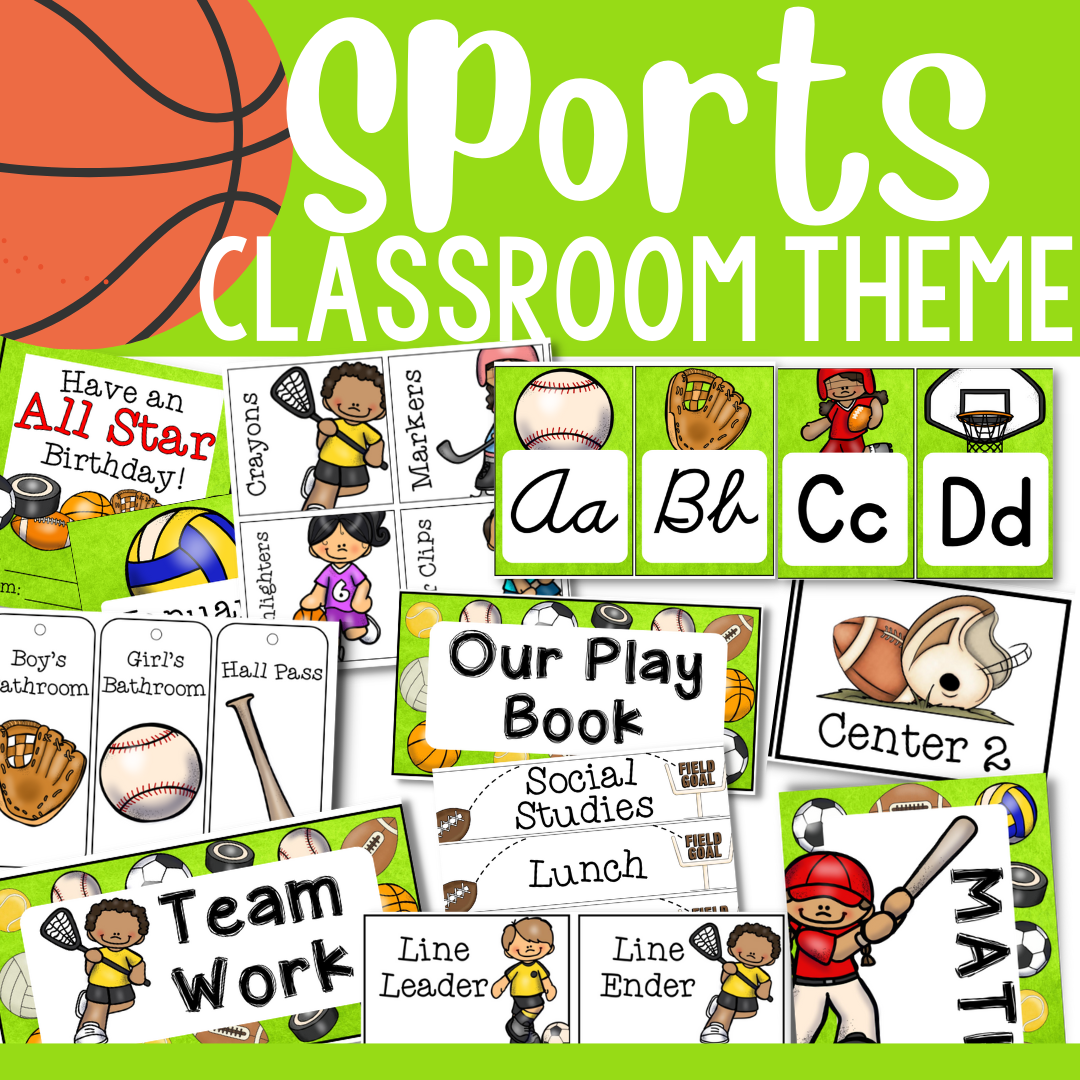
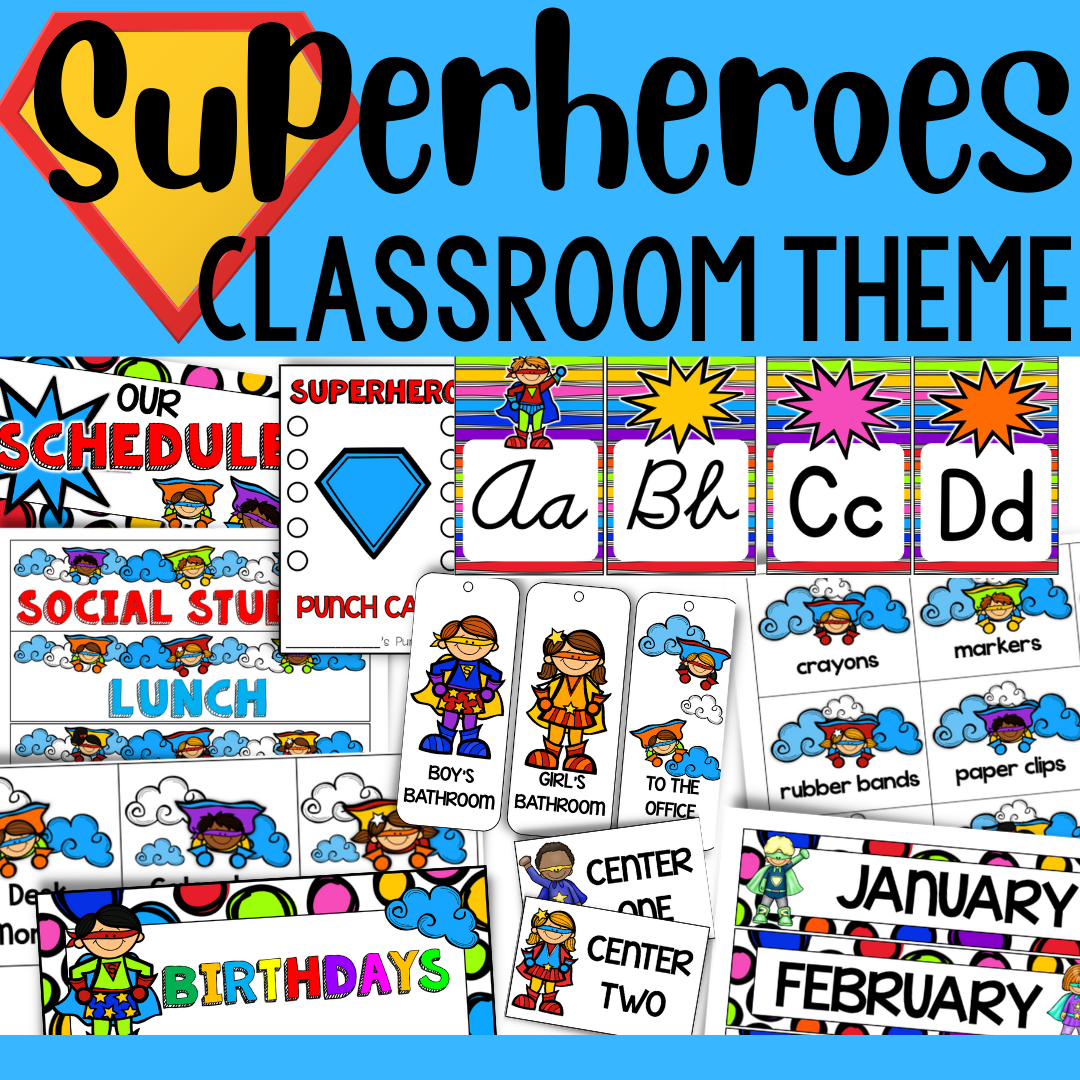
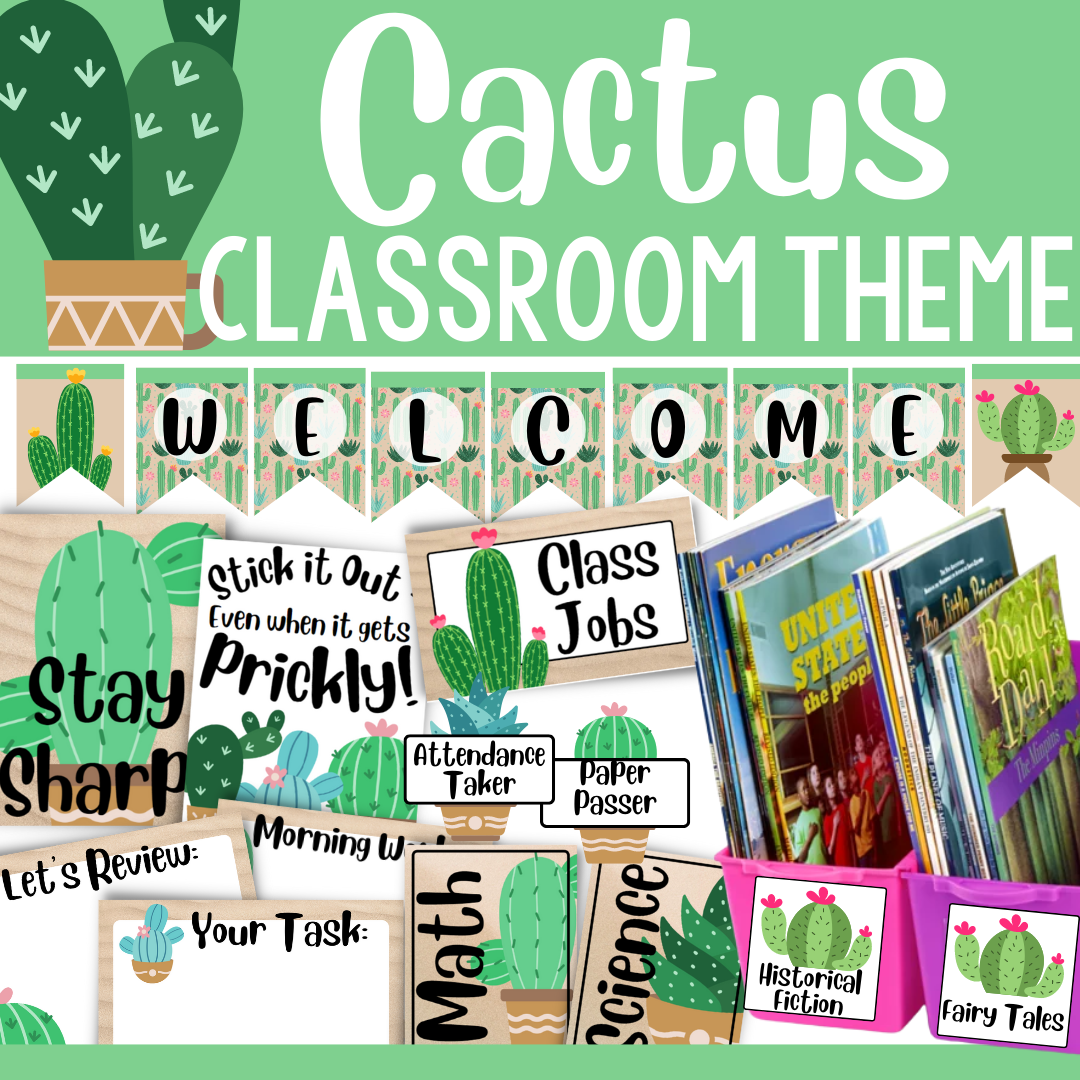
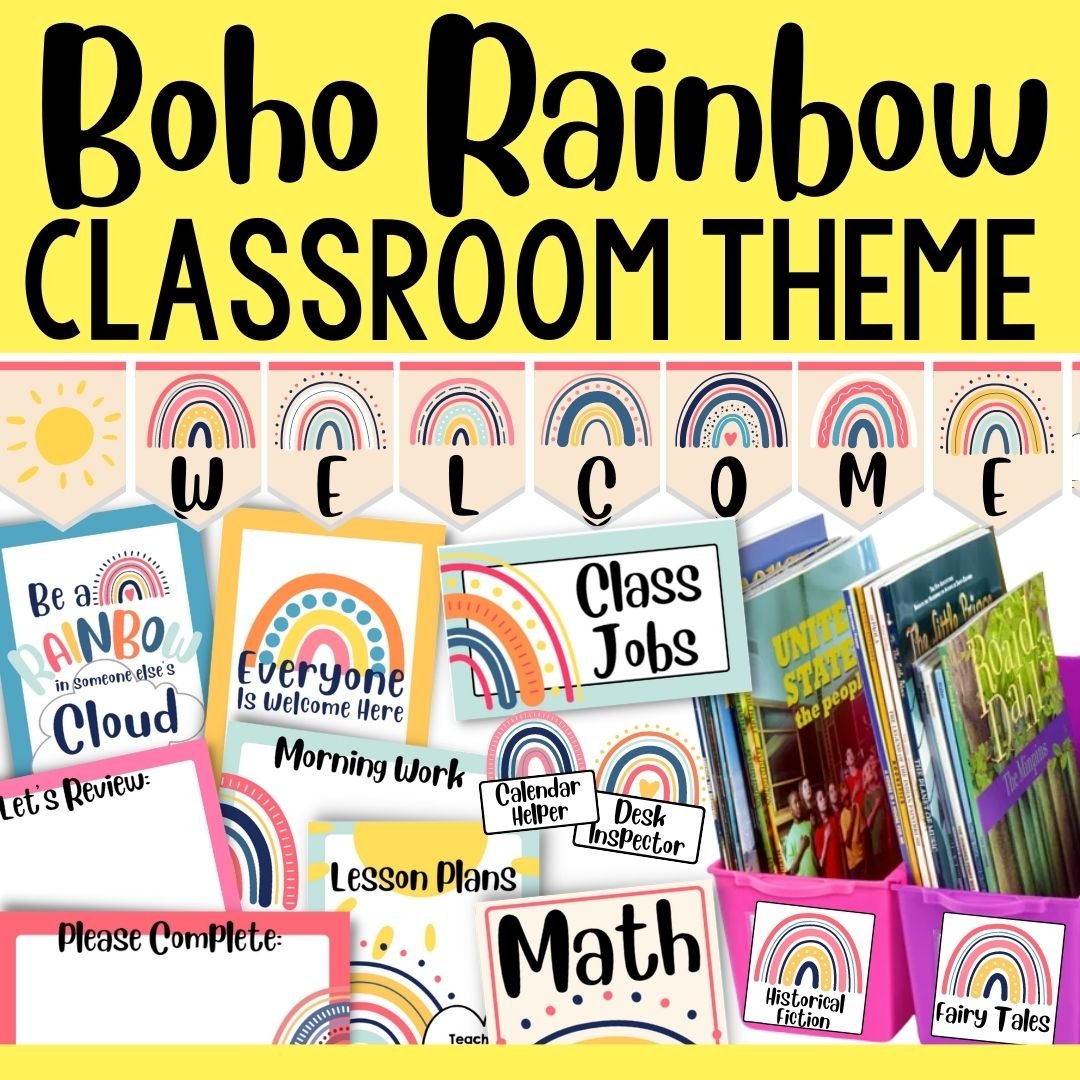
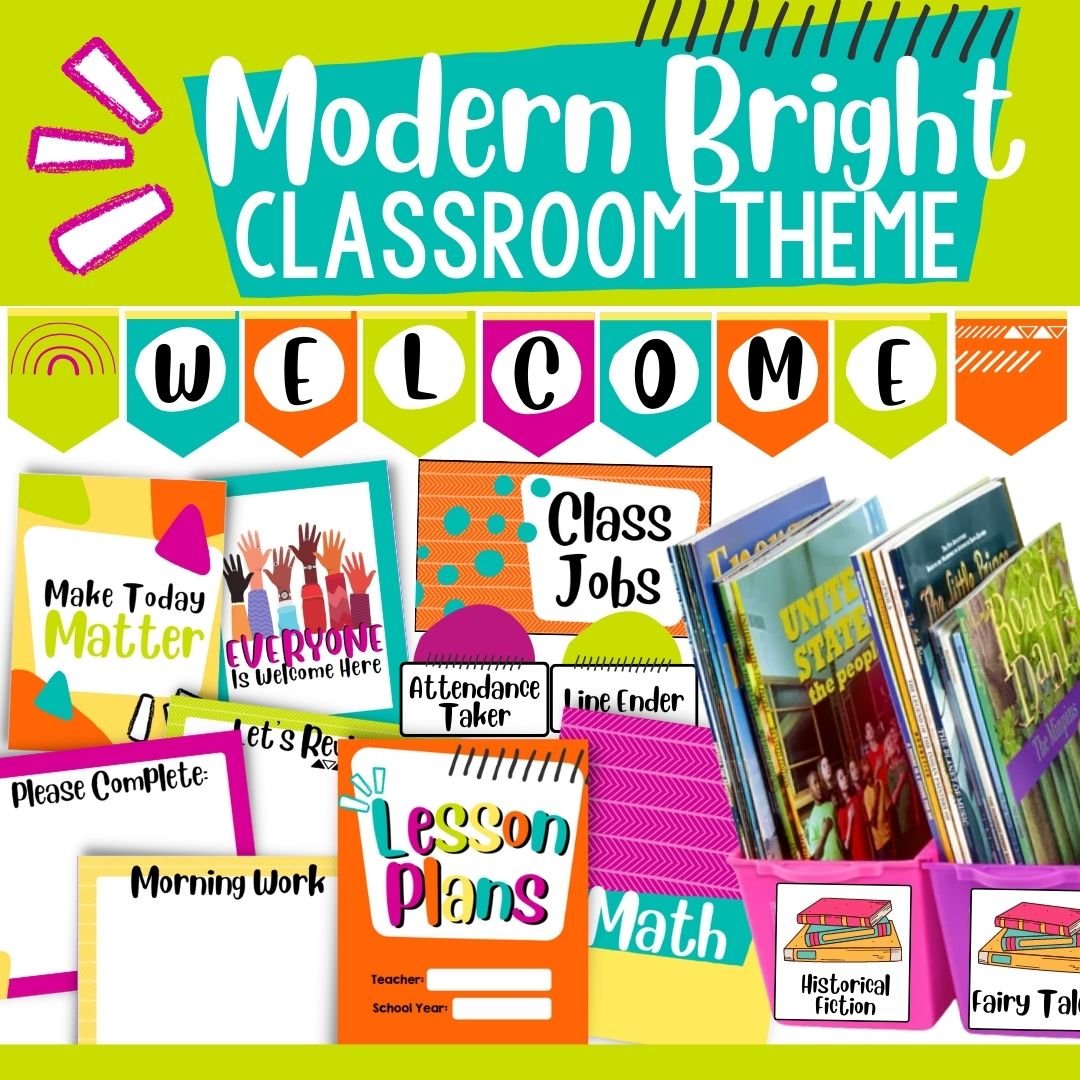
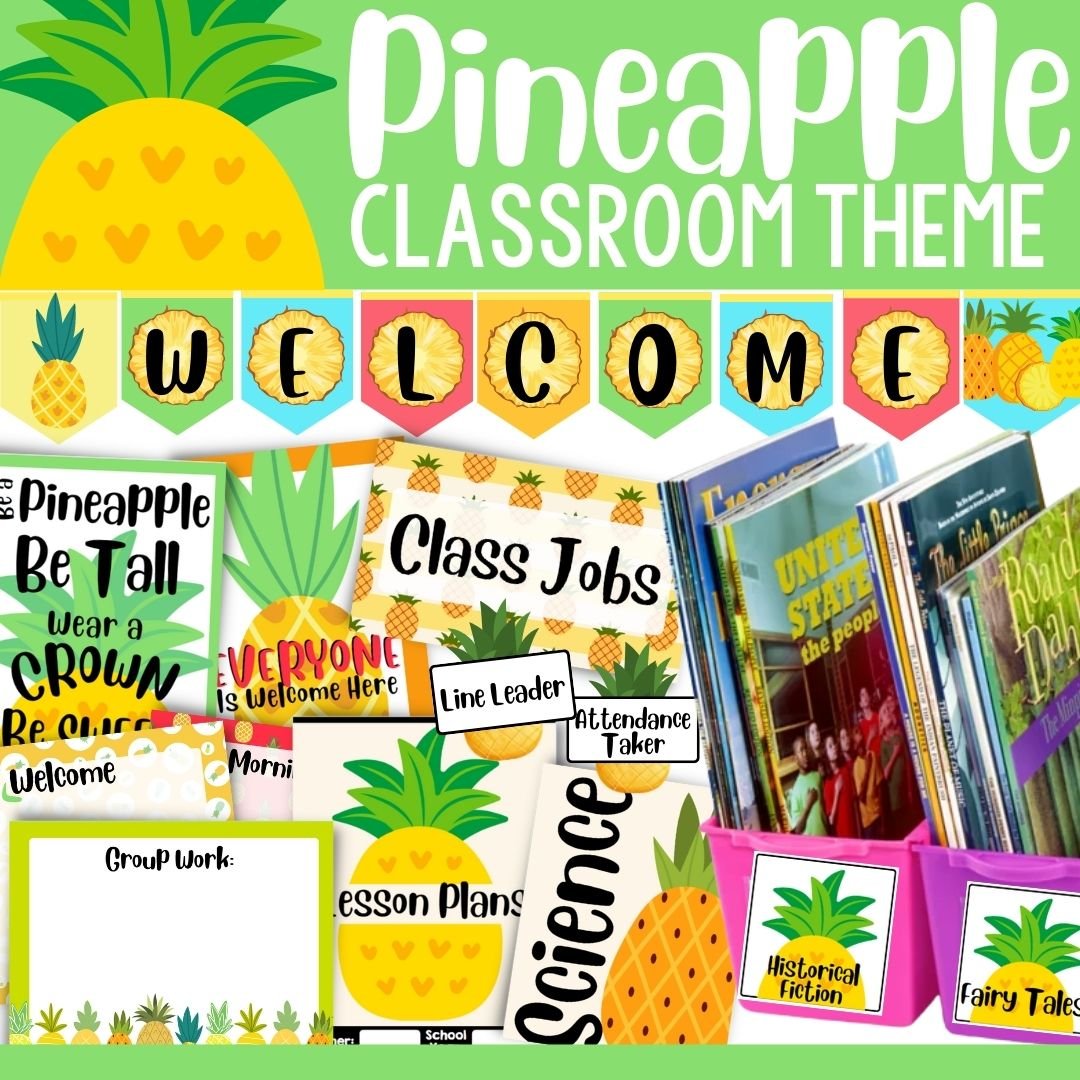
I’ve made it super simple for you to create a classroom theme effortlessly with my printable classroom essential collections! With 17 themes to choose from, you’ll find just the right look for your classroom!
Click the images below to see one or more of my classroom themes:
Not sure you want to go all out with a theme? Selecting a color scheme can create that same sense of unity! Instead of overwhelming your classroom with too many colors or patterns, stick to 1-3 colors and patterns that complement each other. This approach helps prevent sensory overload and keeps your space looking harmonious and inviting.
WARNING: DON'T GO OVERBOARD
Once you choose a theme or color scheme, keep it simple. Too many patterns or variations of a color will be over-whelming and begin to look haphazard. Up to three colors/patterns that compliment each other work great, much more than that starts to look too busy. You can always use a color like black, gray, or white as an accent color to make your main colors stand out.
Bottom line: Themes and color schemes create a unique learning environment that students feel special to be apart of. Your students will feel proud to be apart of Mrs. Smith's Rockin' Readers Club (Rockstar Theme), Mr. Jones' Busy Bees (Bee Theme), Mrs. Kim’s Campers (Camping Theme) or a member of the classroom that has the unique bright entrance of neon colors that you can't miss when walking down the hall.
Themes and color schemes create that WOW-factor.
Consider Room Arrangement
Whether you want traditional seating with desks and chairs, or opt for more of a flexible seating arrangement, let’s take a minute to think about how to lay out our classrooms to achieve your classroom goals.
Traditional Seating
Traditional seating arrangements with desks and chairs have been a staple in classrooms for decades, offering both advantages and drawbacks.
PROS: On the positive side, such arrangements promote individual workspaces, providing students with their own designated area to focus and learn independently. This setup also facilitates a structured environment, making it easier for teachers to maintain order and manage classroom activities. Additionally, desks and chairs can be easily rearranged to accommodate various teaching styles and activities, promoting flexibility in classroom design.
CONS: Traditional seating arrangements also come with certain limitations. One major drawback is the lack of collaboration and interaction among students, as desks are often arranged in rows facing the front of the classroom, hindering peer-to-peer communication and group work. This setup can also be restrictive for kinesthetic learners who may benefit from more dynamic seating options or alternative classroom layouts. Moreover, the rigid nature of desks and chairs may contribute to discomfort or boredom, especially for students who prefer more ergonomic or unconventional seating arrangements.
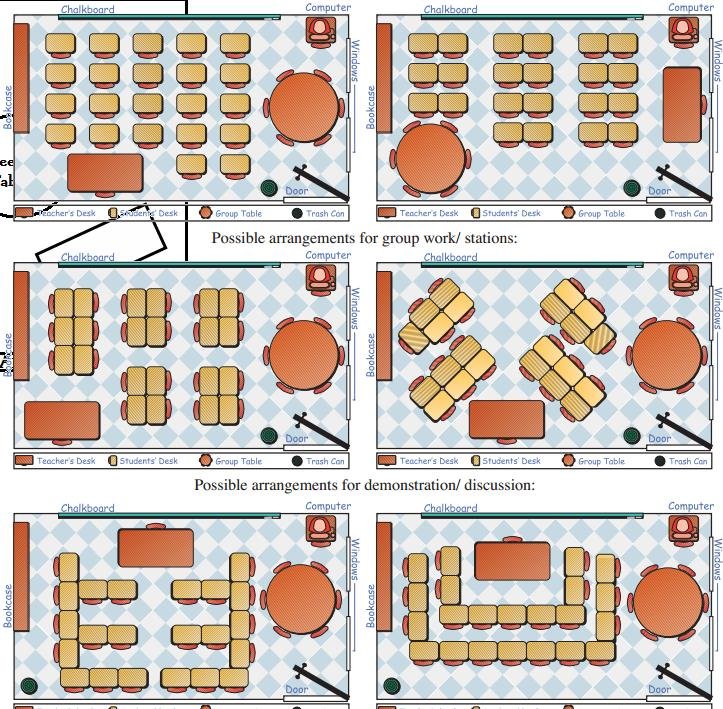
If the pros outweigh the cons for you, consider these layouts for possible traditional seating arrangements:
Tips for Traditional Seating :
Put tennis balls on chair legs to decrease noise (visit athletic clubs and stores for donations)
Keep desks from moving apart by using zip-ties on the legs
Use a caddy or place a plastic draw set near each cluster of desks to give easy access to classroom supplies
Flexible Seating
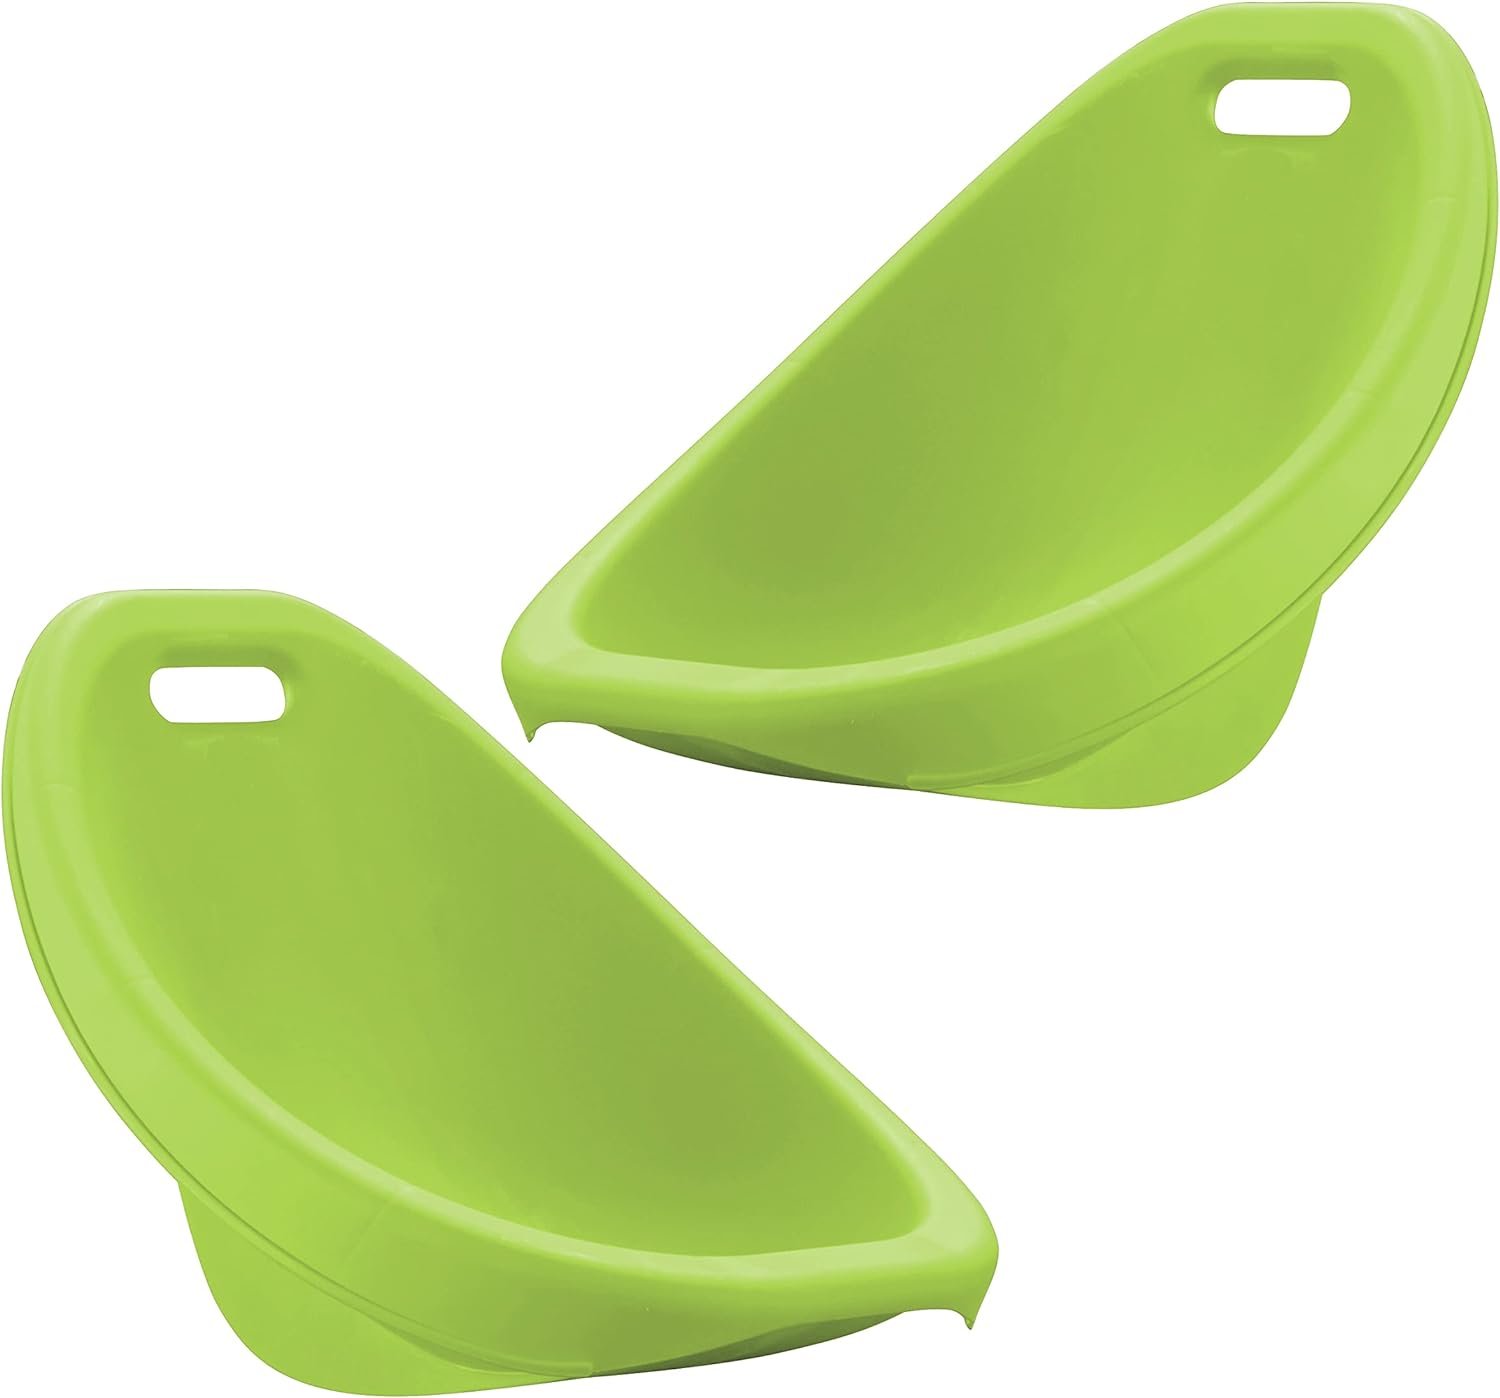
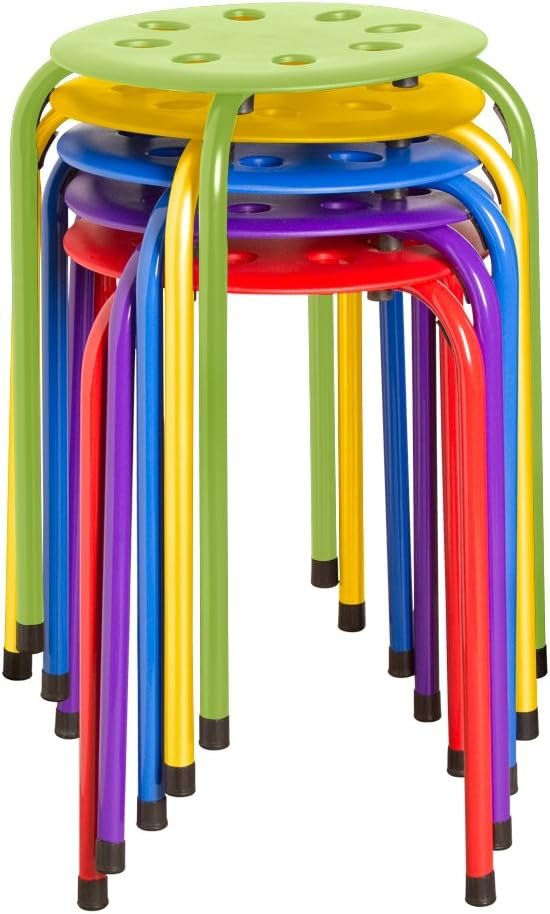
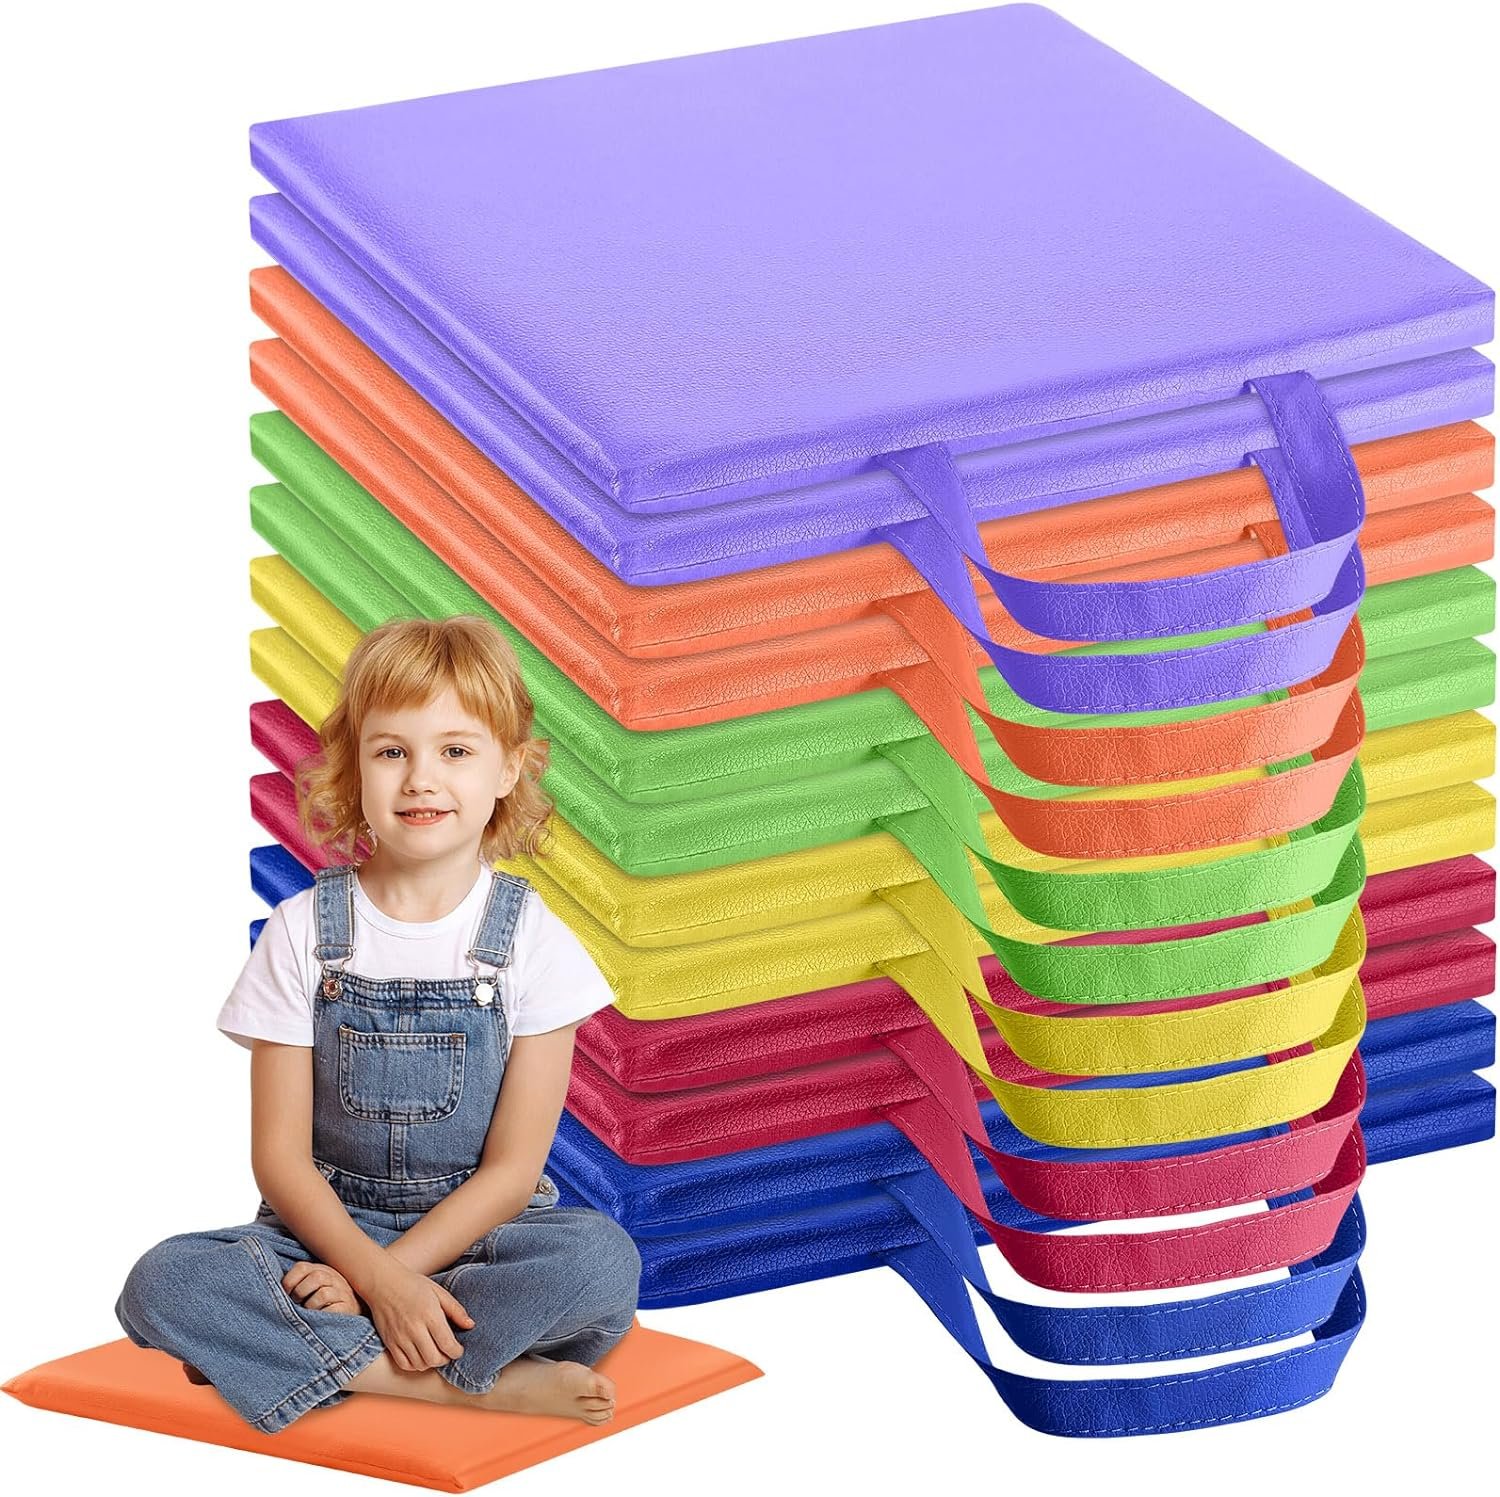
Flexible seating is designed to give students more choice in where they sit. This arrangement foregoes traditional desks and chairs and opts for seating such as bean bag chairs, small group tables, and carpet seating.
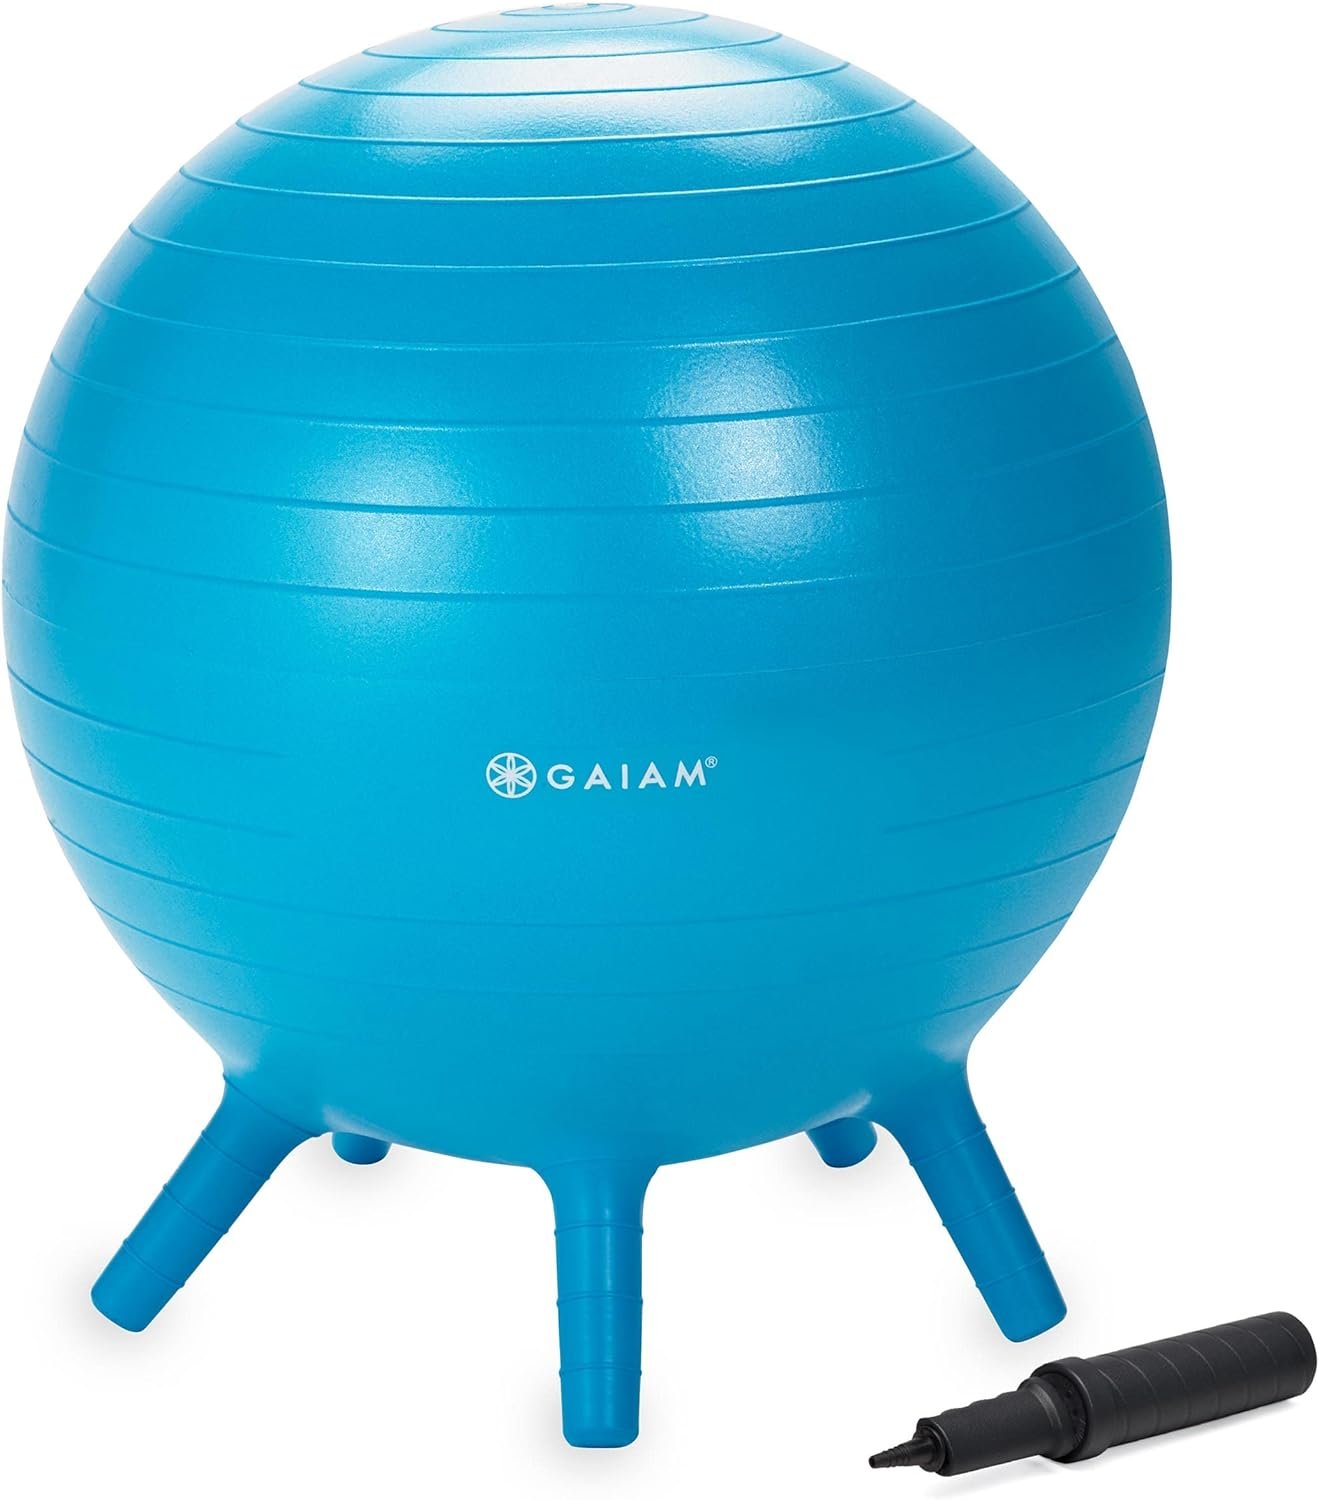
PROS: Flexible seating boosts engagement and active learning by offering a range of options like bean bags, standing desks, and wobble stools. This variety lets students pick what suits their style and comfort, improving focus and participation. It also encourages collaboration and social interaction, as students can move around freely. Plus, it promotes autonomy and responsibility, helping students manage their choices and develop self-regulation skills.
CONS: Flexible seating has its challenges. The freedom to choose seats can lead to distractions and off-task behavior if not managed well. Classroom management becomes more complex, needing clear guidelines. It's also tricky to accommodate diverse seating preferences and ensure fair access, especially in large classrooms. Despite these challenges, many educators see flexible seating's benefits in creating a dynamic, student-centered learning space.
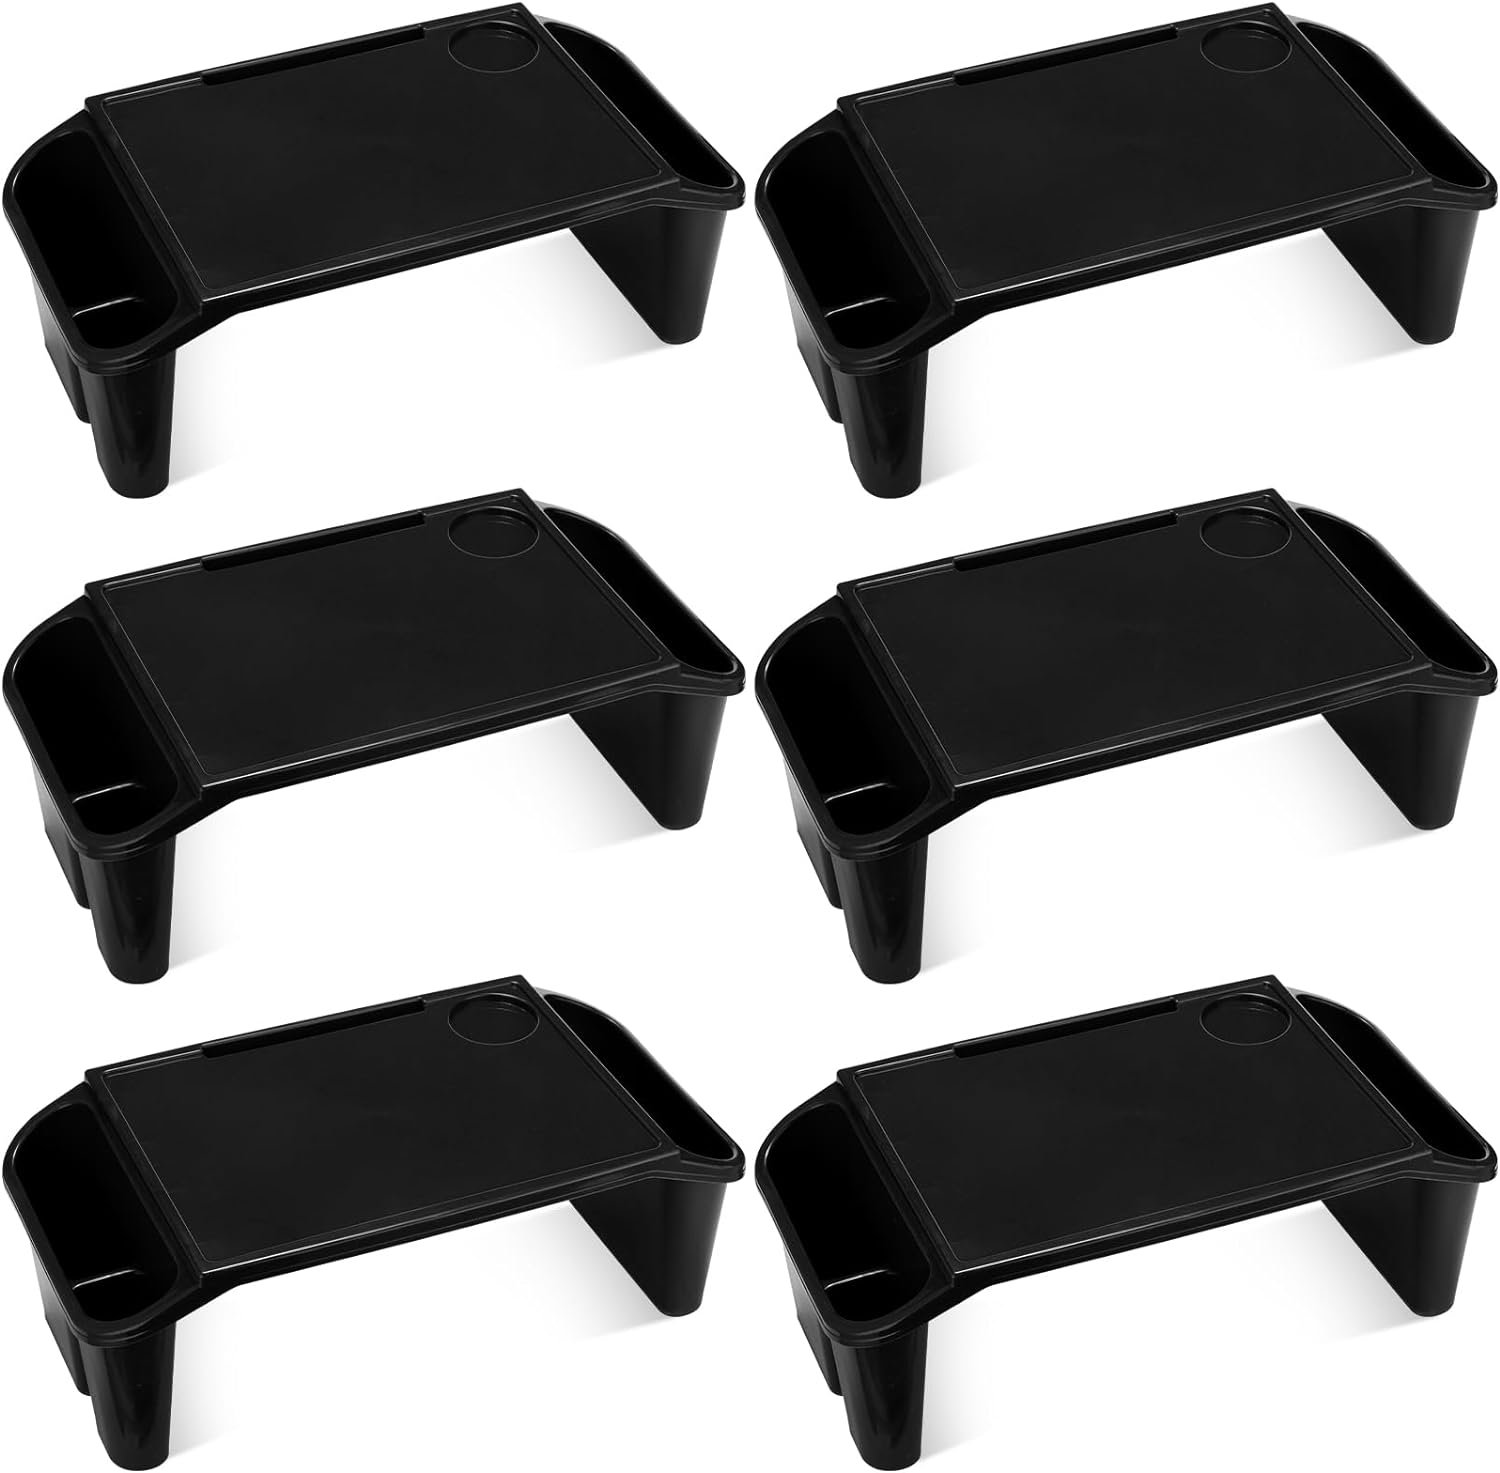
If the pros outweigh the cons for you, consider these flexible seating options for your classroom:
Remember: Flexible seat CAN involved one or more of the options above, however, it could also be as simple as having several small tables around the room that students move around to.
Want to hear from real teachers who have used flexible seating in their classrooms, check out these posts:
Flexible Seating - How to Fun and Implement in Your Classroom - from Teach to Love
Flexible Seating in the Classroom - from Teach Create Love
Alternative Classroom Seating - from Elementary Chalkboard
How to Roll Out Student Work Spaces - from Kindergarten Words
Tips and Tricks for Flexible Seating - from Lucky Little Learners
Tips for Flexible Seating :
Be sure to establish routines and procedures for behavior expectations in your classroom and explicitly teach these expectations to your students at the beginning of the year.
Be ready to be flexible (no pun intended!) with rolling out this seating arrangement with your students. You may need to have more structure in how and when you allow students to choose their learning spaces and then gradually release responsibility.
Over the summer, hit up the garage sales and flea markets for some items that could be used as flexible seating!
Raise funding through resources like Donor’s Choose or your school’s PTA to help your purchase flexible seating options for your classroom.
Classroom Design on a Budget
Don't spend your first pay check before you even get it trying to decorate your classroom!
There are a lots ways to design a classroom with cheap materials. Here are my go-to resources and materials that I've used for designing on a dime!
CHEAP ACCESSIBLE MATERIALS
Use fabric for bulletin board backgrounds - it lasts longer and is more durable!
Buy cheap plastic container, bins, baskets...etc.. at the dollar store and spray paint them to customize for your room
Create no-sew skirts to cover shelves, place around a desk, or to make valences (like this). Customize by choosing the fabric that matches your classroom look! Easy-peasy!
Use tissue paper for - well - EVERYTHING! Pom-Poms to hang from the ceiling, bulletin board accents, rainbows - the list goes on!
Use patterned duck tape or washi tape to add accents to your plastic pins, as boards to your personal-sized dry-erase boards, as bulletin board borders, around cup holders, over the front of drawers or anything else that could use a pop of color.
Here are some of my favorite "design on a dime" looks:
CHOOSE AN ACCENT PIECE OR WALL TO DRAW ATTENTION
You don't have to spend a ton of money to make an huge impact. Just choose one or two larger items or displays to really distinguish your theme or color scheme, or choose an area of your room to go all out.
Here are some ideas:
Purchase a large area rug for your gathering area that matches your theme or color scheme. Look at consignment shops or even carpet companies that will often sell remnants of leftover carpeting.
Create an accent area or wall that represents your theme to display in your classroom. Here are some examples that work great!
I also LOVE this idea for a tree in your classroom. Here's a video to show how it's done!
USE SPRAY PAINT
Painting is one of the cheapest ways to customize a look for your classroom. Choose colors that match your theme or color scheme and go to town (as much as your school will allow!)
Here are some things you might consider spray painting to make your dream look come to life:
YOU MAY ALSO LIKE: DIY Projects for Your Classroom
Designing for Small Spaces
Not every teacher is blessed with a large, spacious classroom (sigh!). But - let’s not allow a smaller classroom keep us from making an amazing classroom.
Making the Most of Wall Space
Too many windows? No enough blank wall space? Lack of bulletin boards?
Try these hacks:
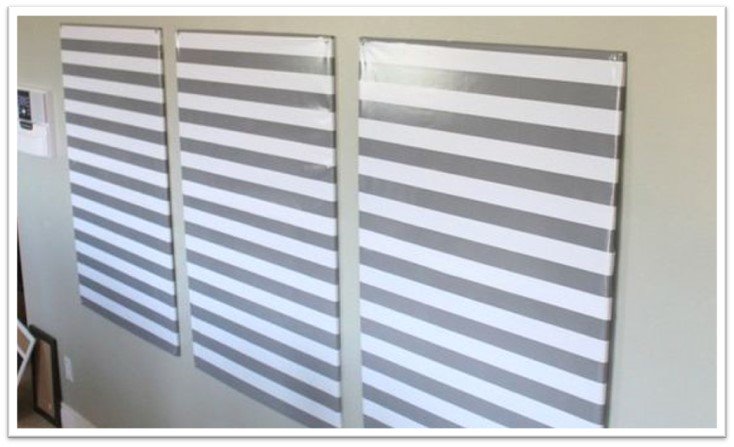
Cover cork boards with wrapping paper or fabric and hang on the wall to create your own bulletin board
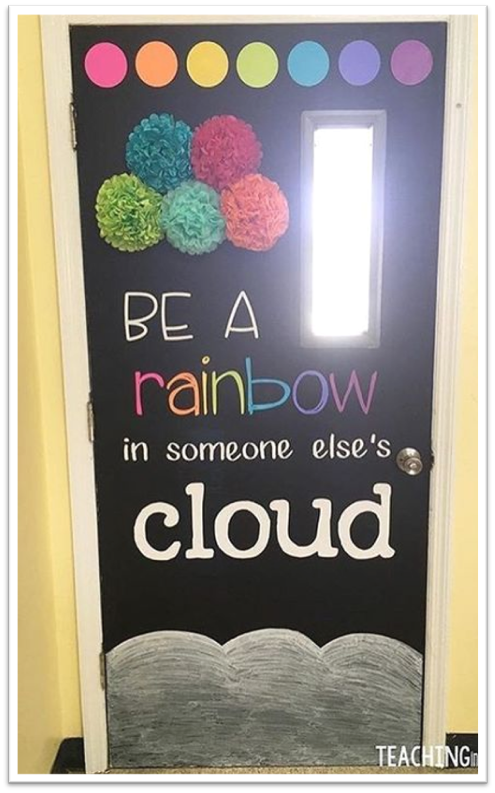
Turn your classroom door or even closet doors into bulletin board space by covering them with butcher paper
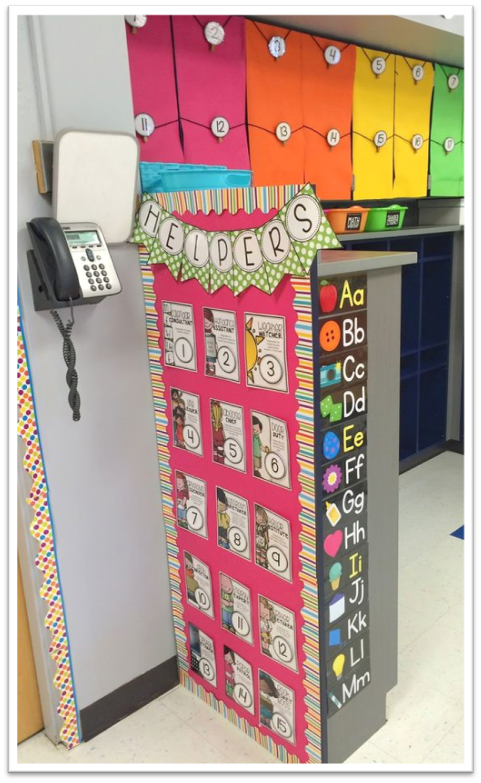
Turn the back of a shelf into bulletin board space
Alternatives for the Teacher Desk
Lose your teacher desk and you’ll instantly gain space in your classroom. At first thought, this might seem impossible, but I’ve talked to many teachers who have made the change and have never looked back!
Here’s how you can do it, too!
Double a small-group table as your teacher work space. Store your teacher supplies on shelves behind it or in another area of your room.
Take advantage of vertical space by using a standing desk. This allows you to have a space for your laptop when you need it, but doesn’t take up too much space!
Make a mobile desk by purchasing a rolling cart. Take this cart with your to small groups, the front of the room, or anytime you’re working with students!
STORAGE SOLUTIONS
Need some better storage options? Let’s face it - a fully stocked classroom takes up a lot of space and if you’re already working with a small classroom, you might find yourself tripping over all your stuff!
Try out some of these tips from teachers to make the most out of the space already available in your classroom:
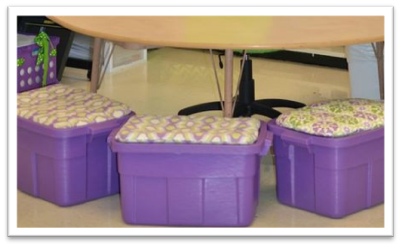
Use Rubbermaid tubs with a cushion on top to double as seating AND storage!
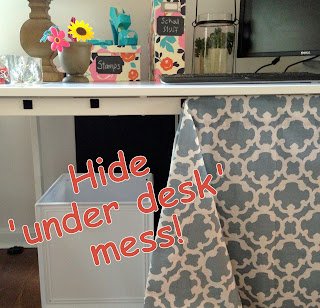
Make use of space under tables and create a skirt for a desk to store AND hide materials.
Use over-the-door shoe holders to store small pieces.
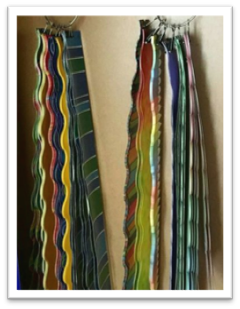
Store bulletin boarders on binder clips hung on a ring - space saving AND helps you stay organized!
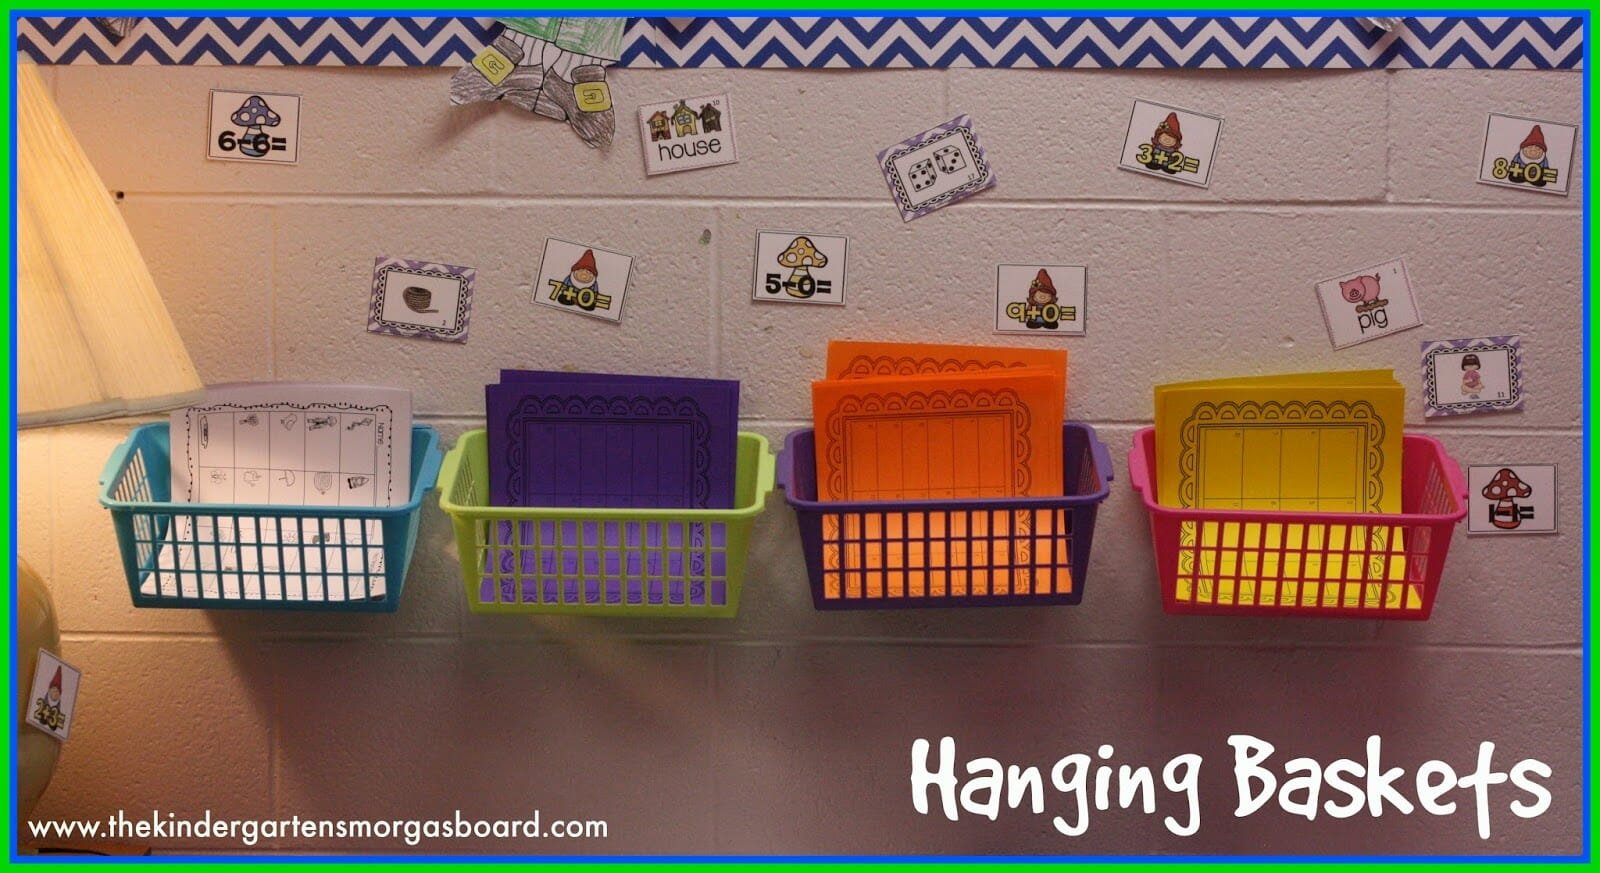
Hang baskets on the wall to keep clutter off the floor!
Bulletin Board Inspiration
Bulletin boards can make a big statement in your classroom! Whether you’re using them to showcase student work, or creating content-related displays, creating eye-catching bulletin boards doesn’t have to be difficult.
I love these ideas:
The Ever-Changing Bulletin Board
Want a bulletin board that you can easy change out? Clothespins will do the trick! Make the base of the bulletin board with construction paper, add clothespins and swapping out content is a breeze!
Layer Your Borders
I love this layered look from One Sharp Bunch. It’s a simple way to level up your bulletin board look. Plus - it’s an easy way to tie in your theme or color scheme!
Be sure to check out this post for how to achieve the perfect lines of the layered borders!
Get Creative with Your Bulletin Board Borders
Who says you HAVE to use the traditional borders to outline your bulletin board! Let’s get creative and create a truly unique look!
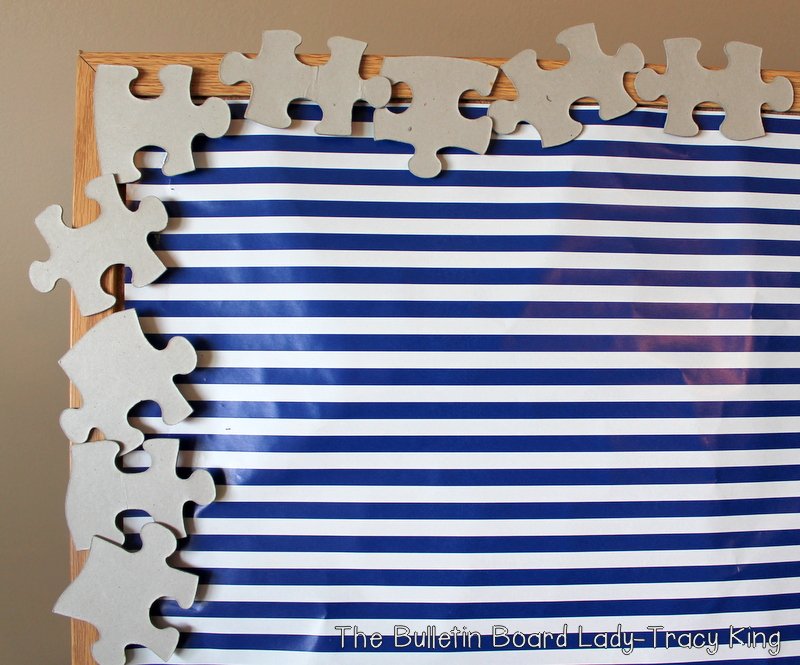
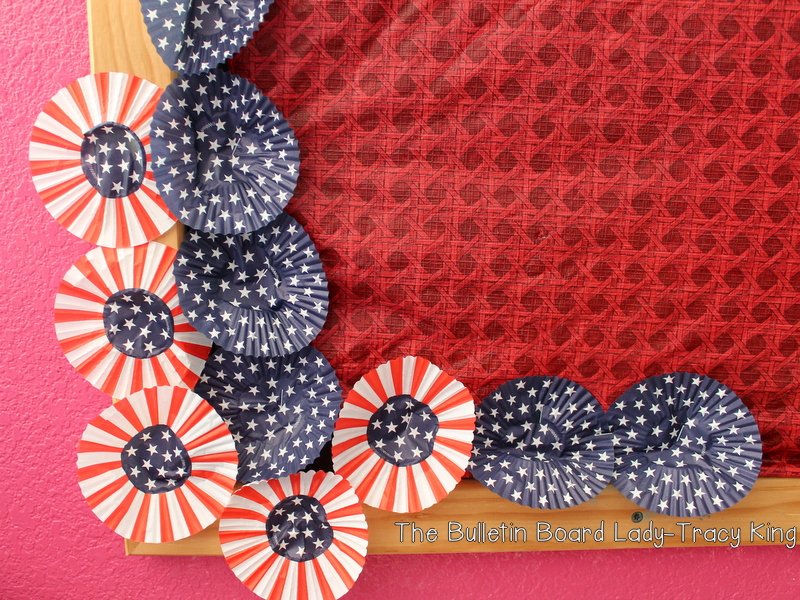
Here are some unique materials to use for bulletin board borders:
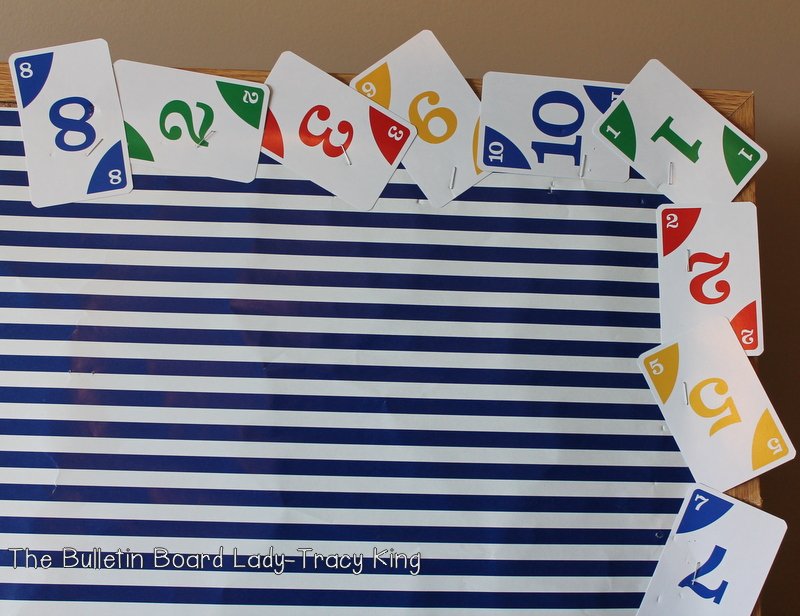
Playing Cards
Cupcake Paper Liners
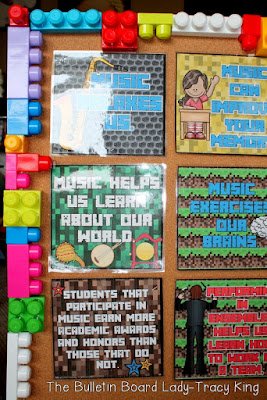
Jumbo Legos
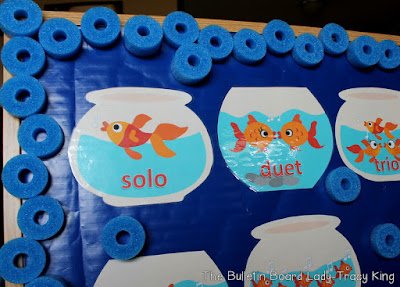
Pool Noodles
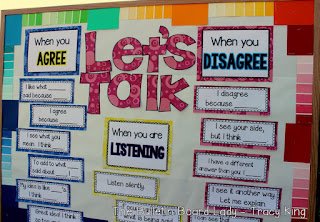
Paint Chips
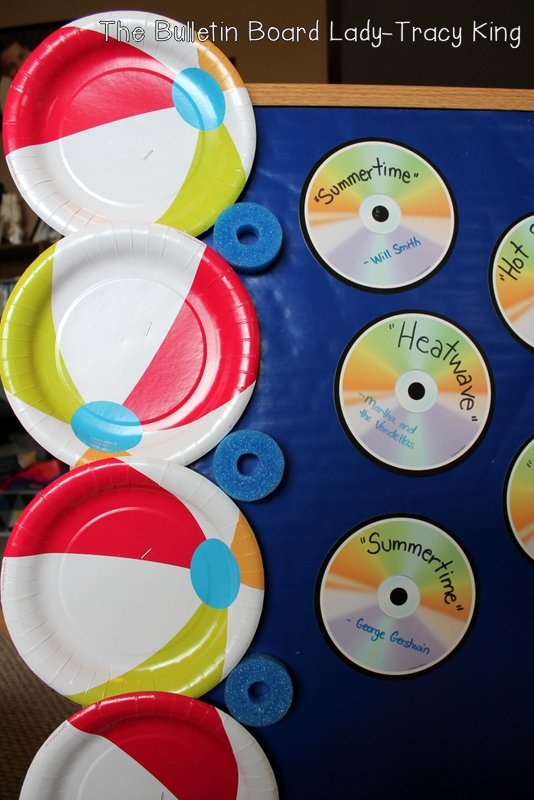
Colorful Paper Plates
Large Puzzle Pieces
Credit: Mrs. King’s Music Class
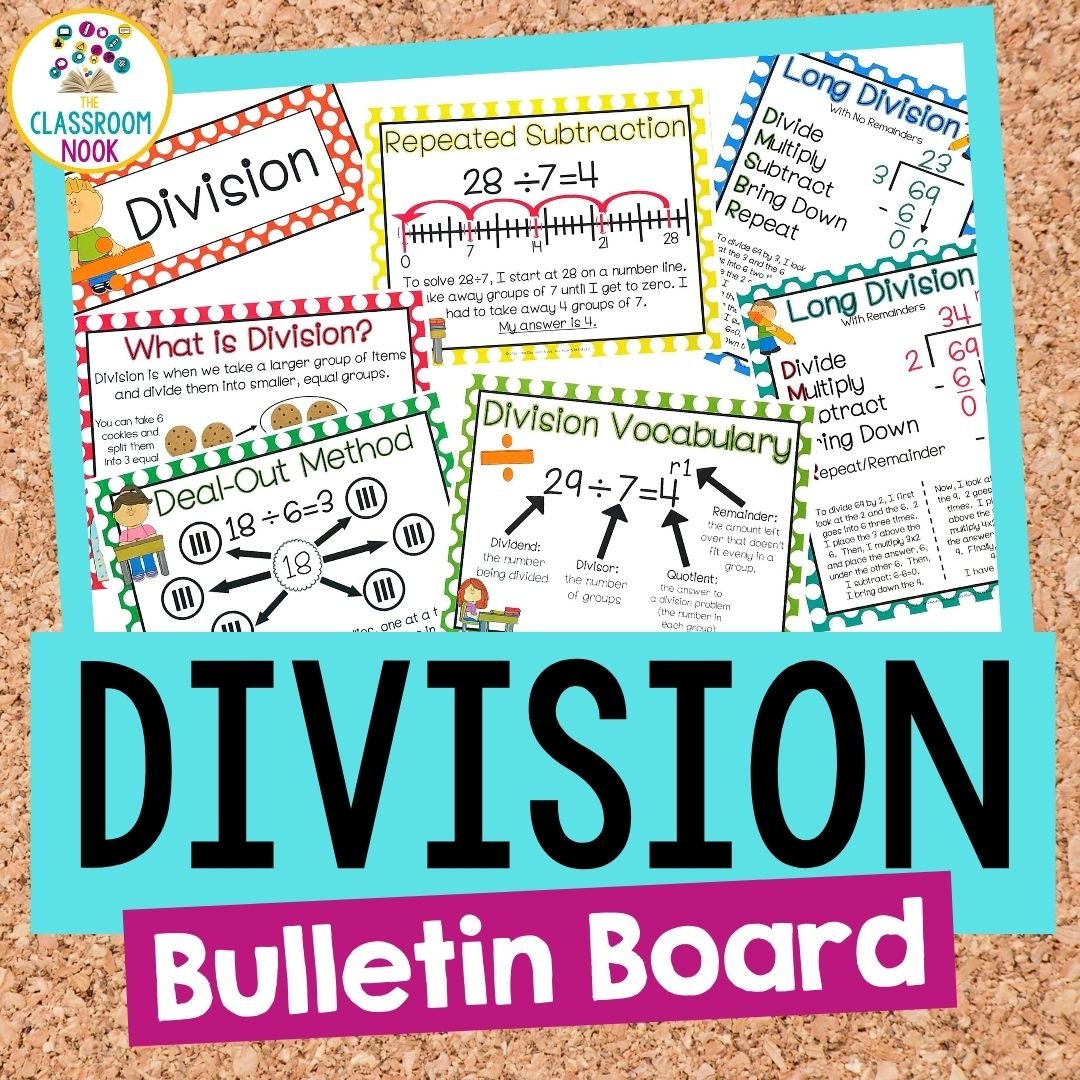
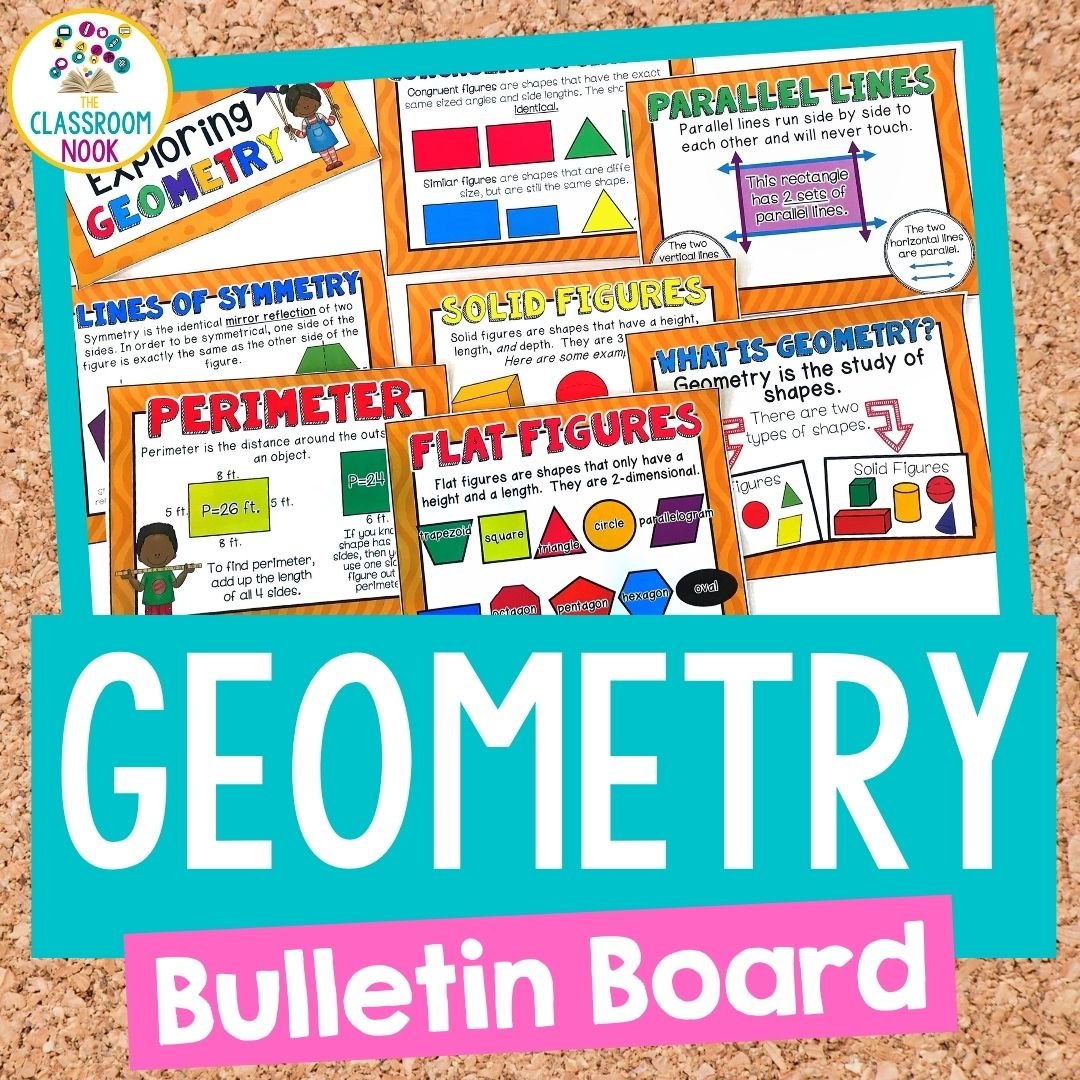
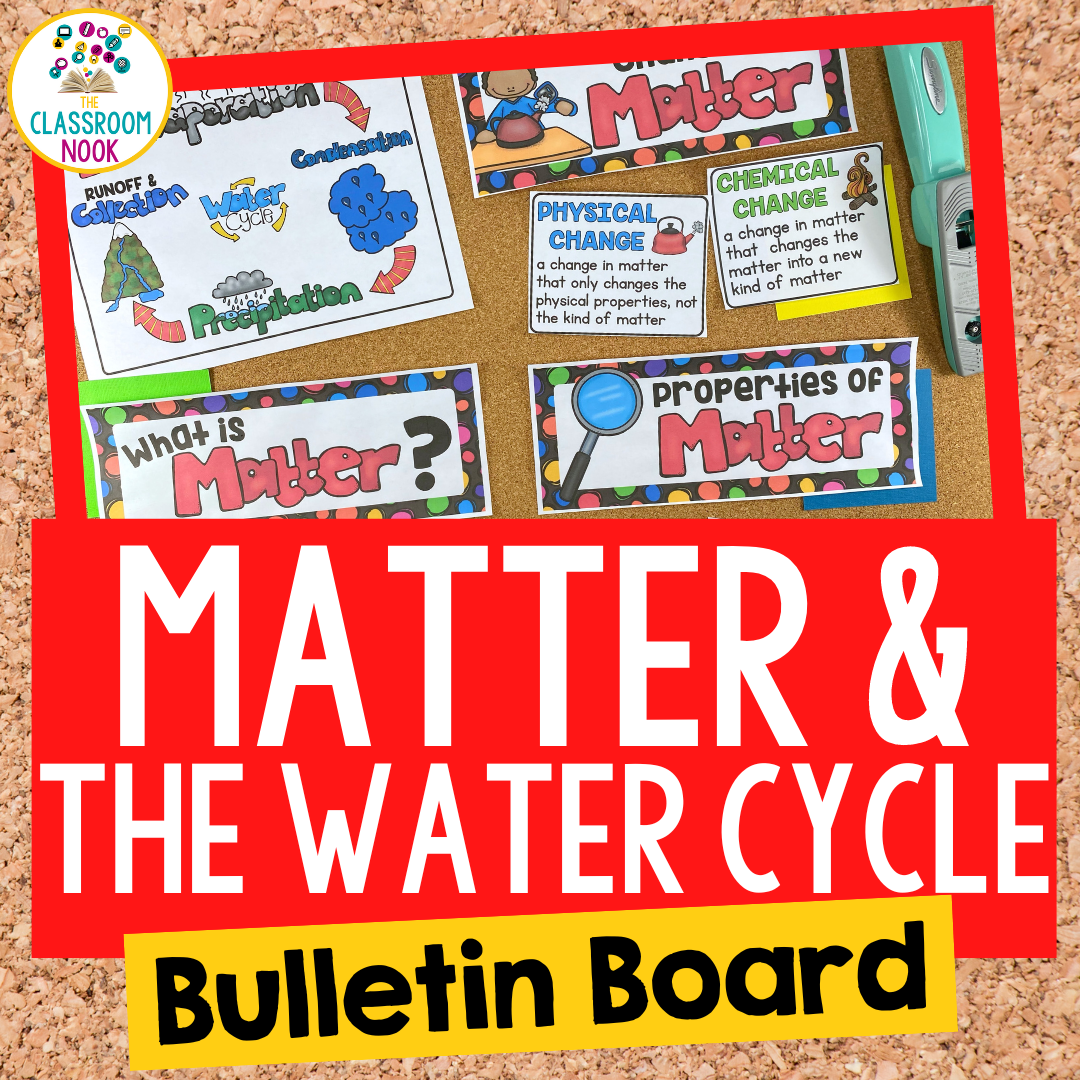
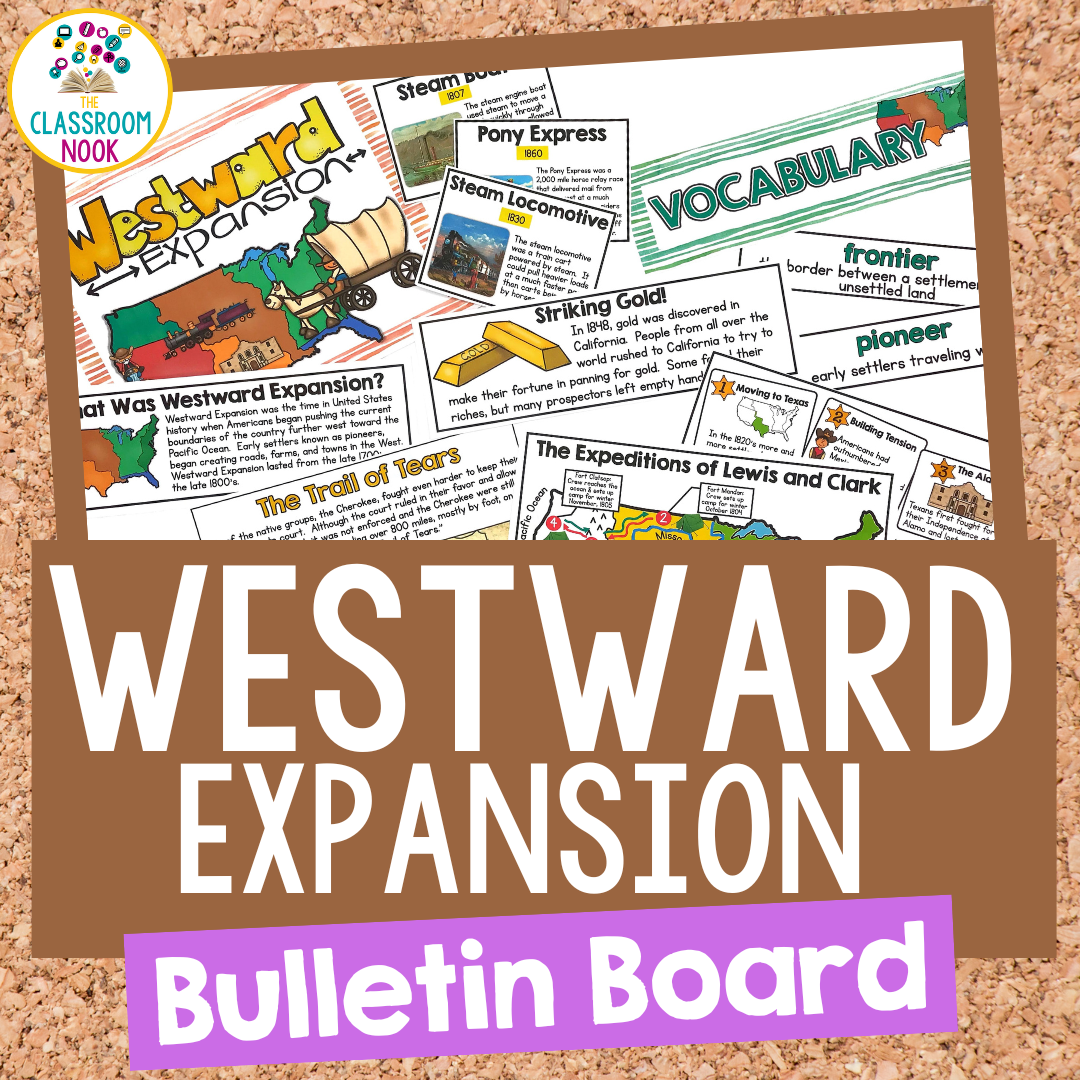
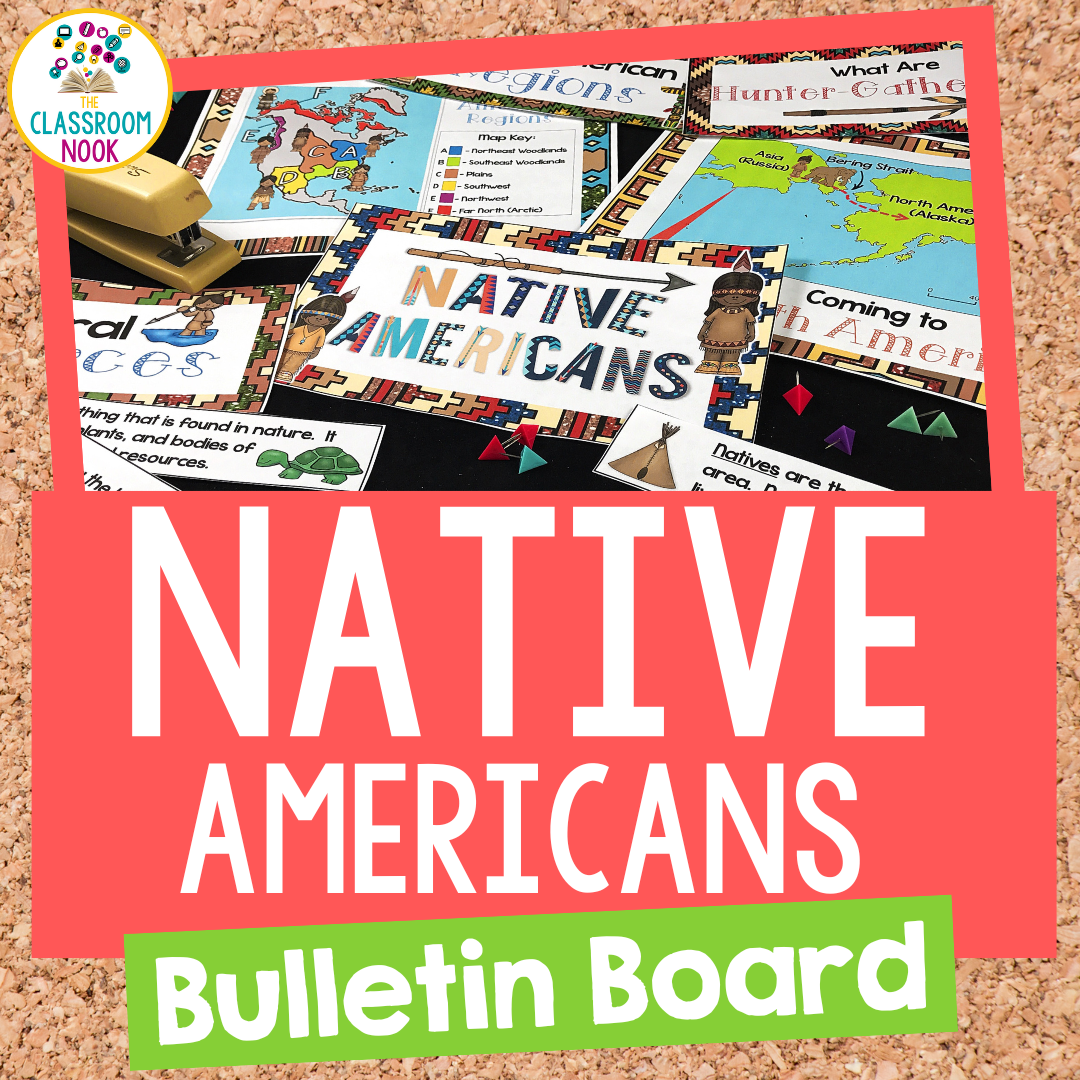
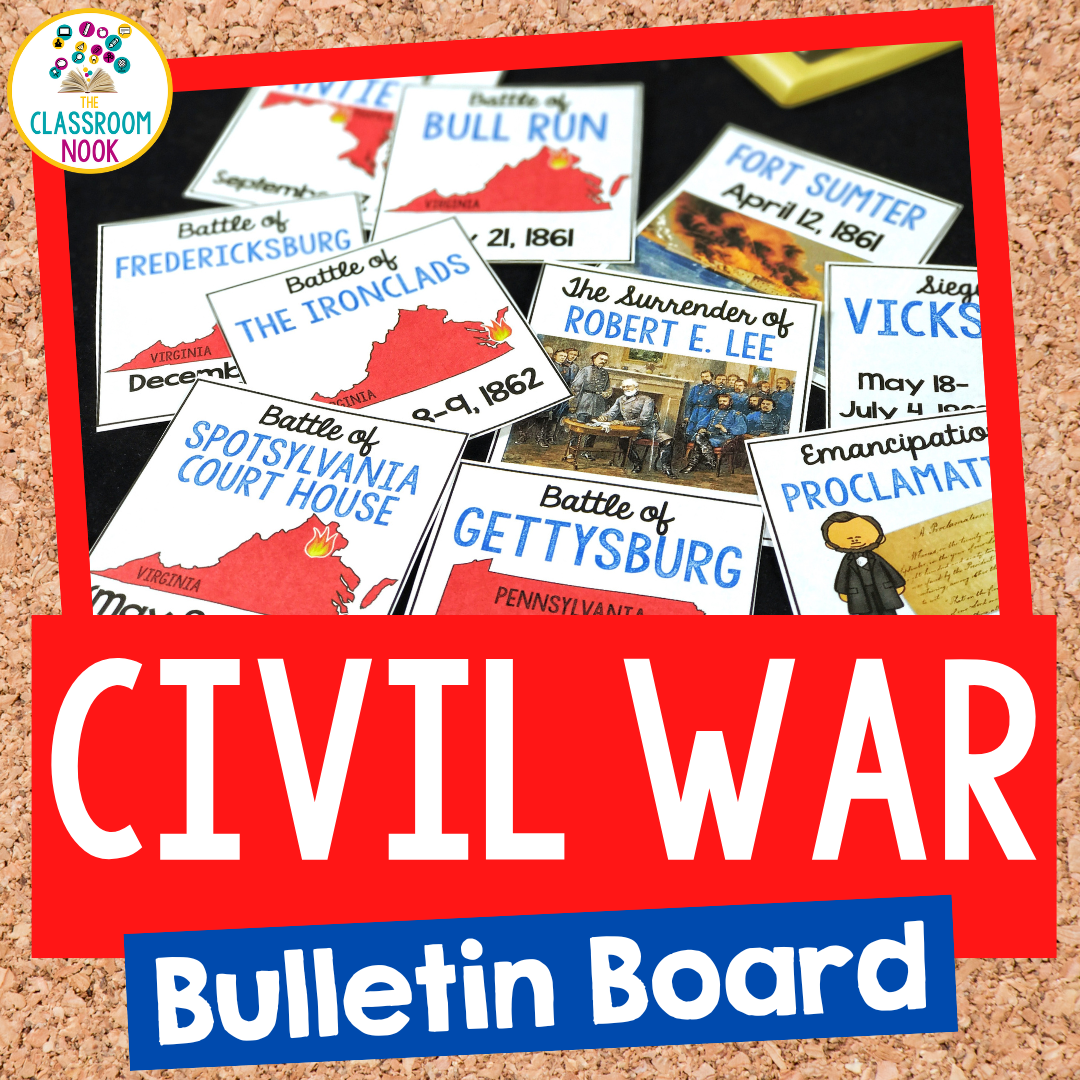
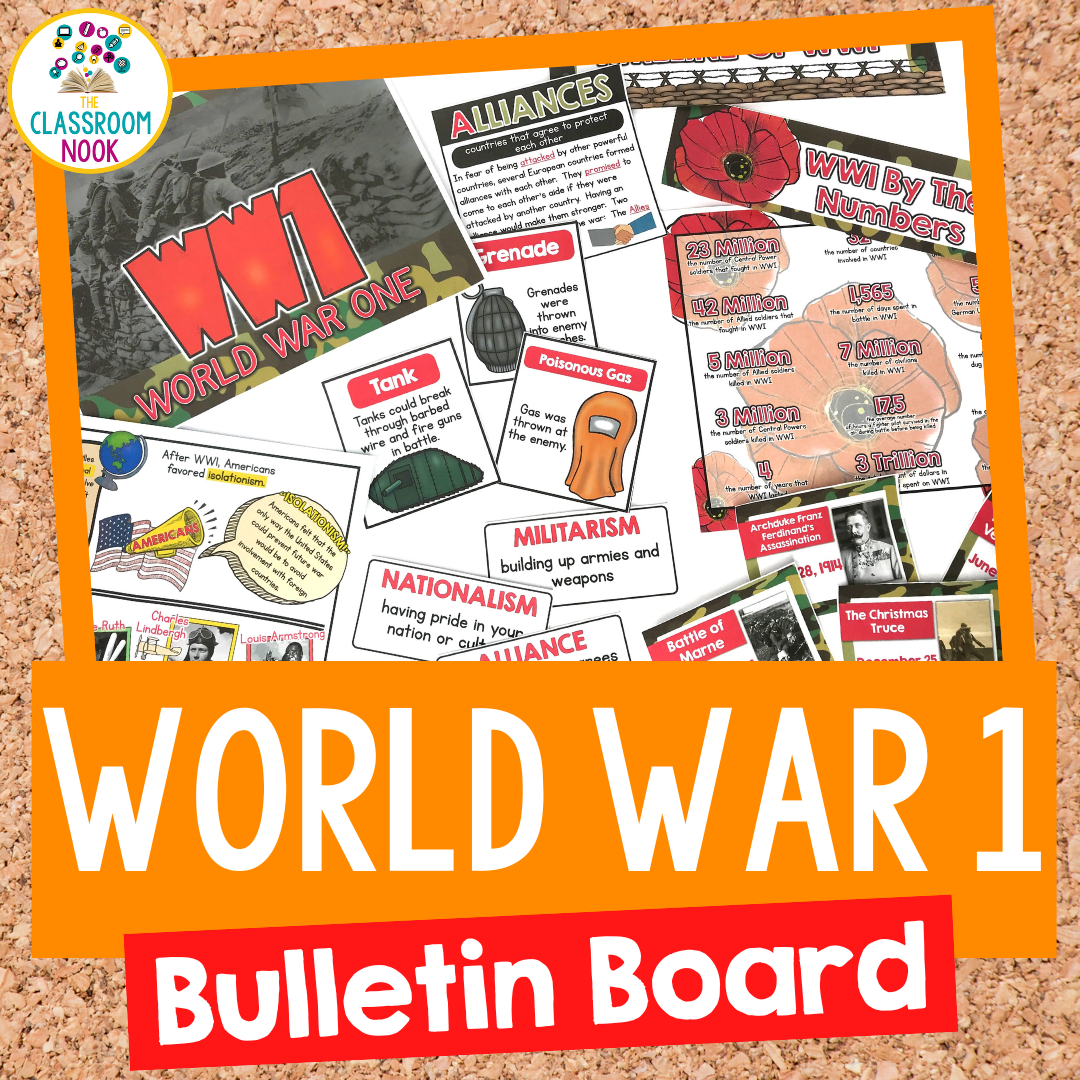
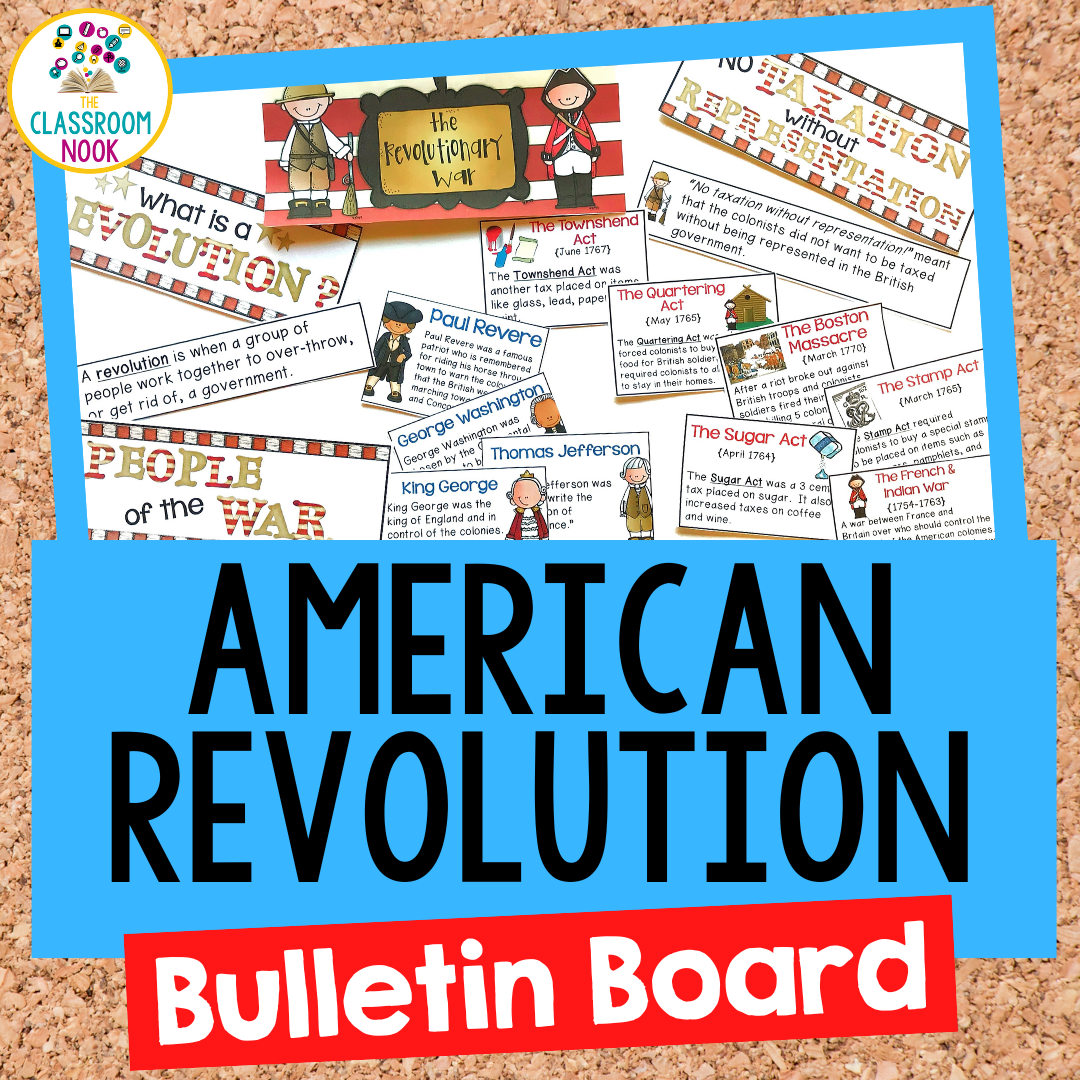
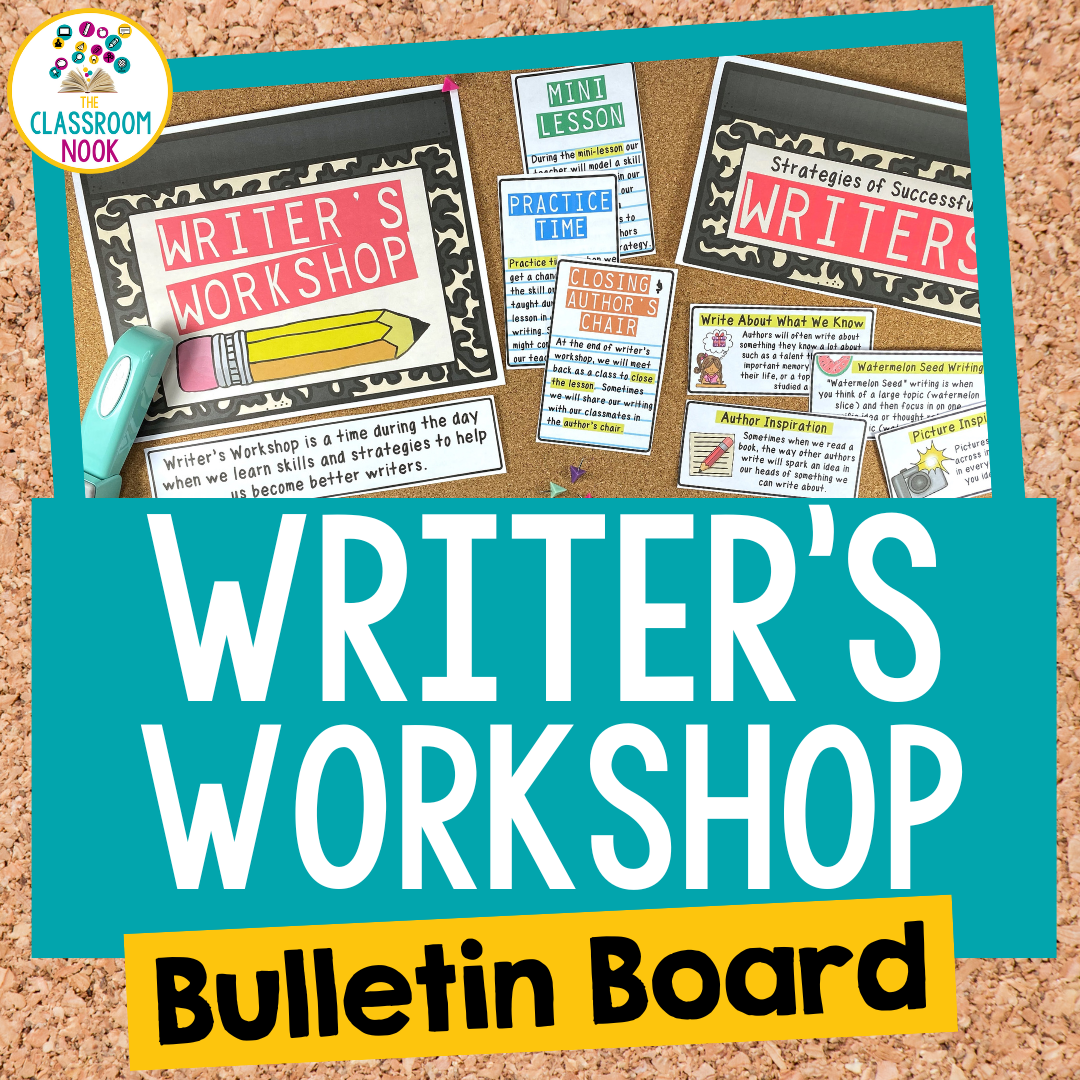
And - if you’re looking for some ready-made bulletin board sets to help you reinforce important topics you might be teaching in your classroom, be sure to check out my collection of bulletin boards sets for all content areas:
